This is part 5 in a series of posts in which I will document my journey (and mistakes) of building a 6502 based computer.
Let’s put it all on one board
Now that I have a working design I want it all in one board.
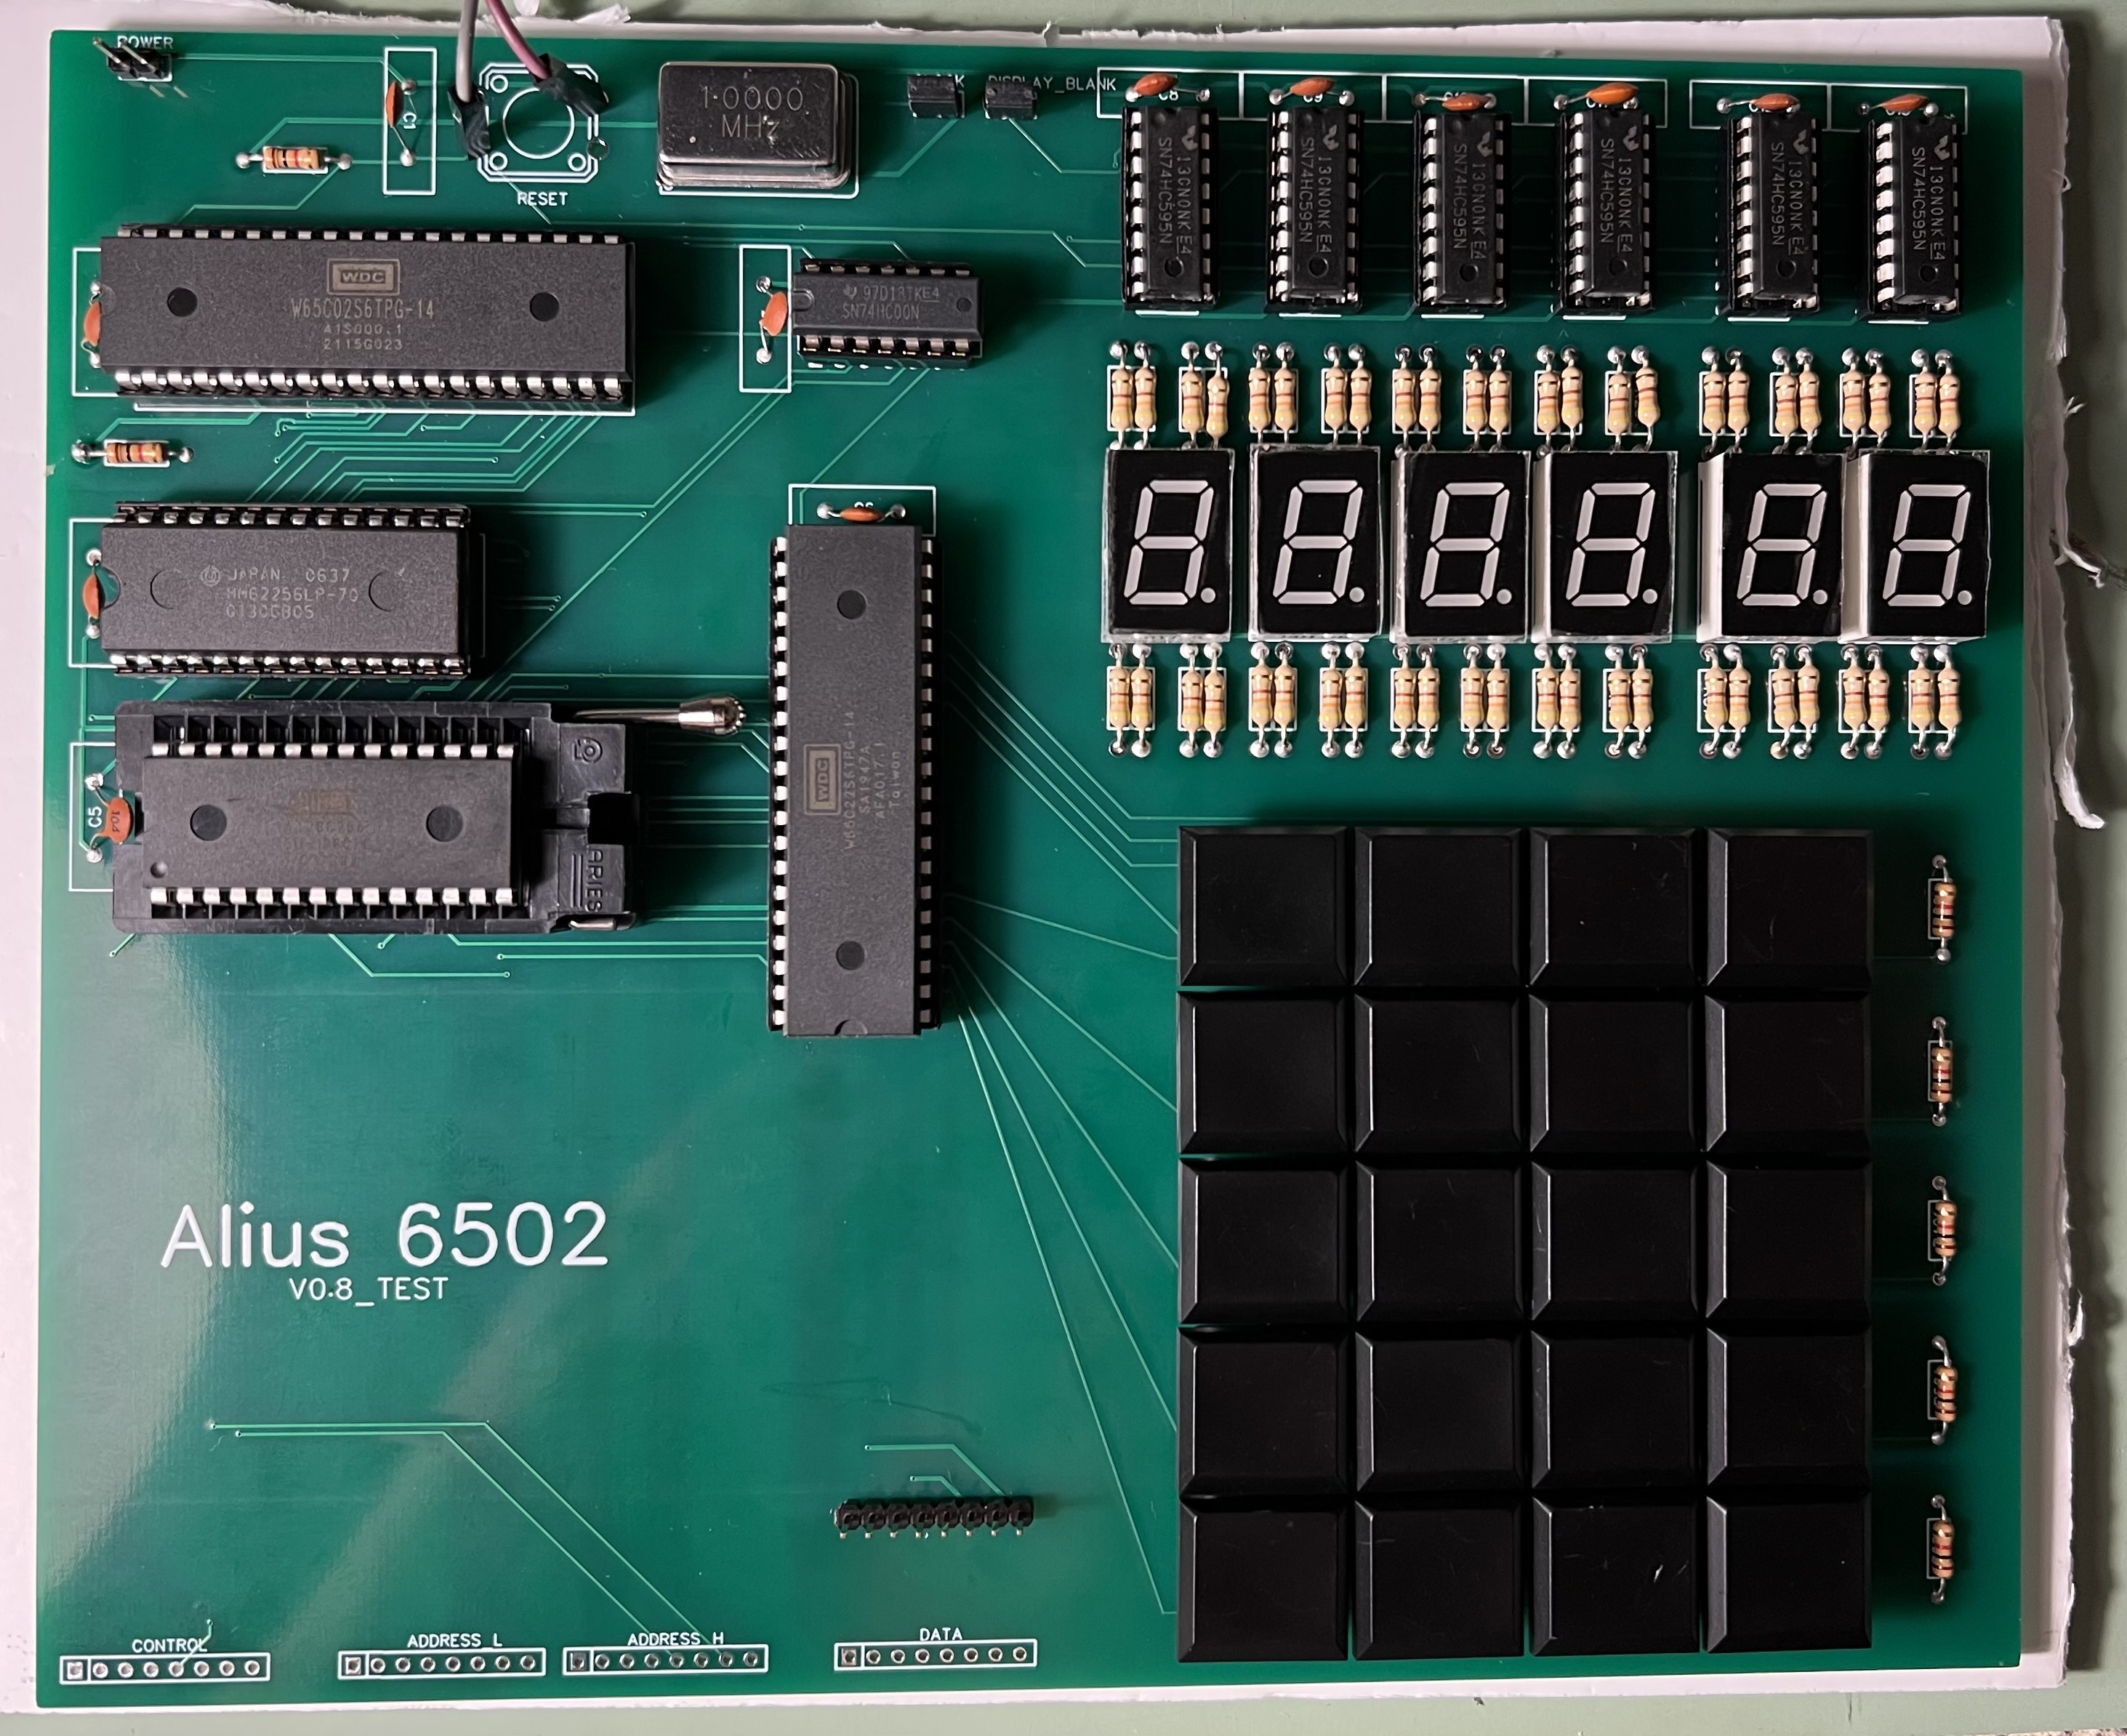
Compute on the left, display and keypad on the right.
Now for an SDcard interface
The internet says that an SDcard can be used in SPI mode.
Hardware things
You can connect to an SDcard via a SPI interface, which if you have 4 free I/O pins is not too big of a hardware job. But SDCards run at 3V and your I/O might be 5V so be sure to check.
In my case I got a breakout board from Adafruit that has a level shifter built in.
For my 6502 computer design I have a 65c22 VIA chip, and I can just twiddle the right pins to get SPI, and I already have that for running the display.
Which pins you select can allow you to have cleaner code. I use bit 0 for clock so I can INC/DEC to cycle the clock. I use bit 7 for data in as it allows me to use ROL to move the bit to the carry flag. And ROL again to move the bit to the target register.
SPI things
SDCards work in SPI Mode-0 so data is latched on the rising edge of clock.
SPI Mode-0 works like this, set the clock low, set the output data, then set the clock high, read the input data, set the clock low again.
The names of the 4 SPI lines are not consistent across different documentation, so read carefully, but basically you have a chip select, data in, data out, and clock.
Software things
First you need to sort the basic SPI stuff, you will need to be able to send and receive bytes, clock speed is not very important.
Create a “send-byte” and “read-byte” function. When reading a byte it’s important to keep the MOSI line high, i.e. send $FF while reading.
The reset process for an SDcard is long but not too complex if you don’t care about edge cases.
There are a few strange things to be aware of:
- Always output a $FF byte after changing the Chip Select (CS) line high or low.
- Always output an $FF after a command.
- If in doubt just send an $FF byte.
Documentation
University at Buffalo has good docs
Prototype
I highly recomend playing with the commands from a higher level environment such as python on a Raspberry PI. Once you properly understand the protocol then you can write it all in 6502 assembly.
FAT32
Once you can read a block from the SDcard it’s time to create a FAT32 file system layer.
What’s next?
In part 6 we will create a verson with better memory layout.