This post will cover this red break cards, the plastic authentication biscuits.<p>
This Youtube of opening of wargames shows the use of the break cards, this is what I used as a reference.<p>
The red break cards are often called “Biscuits” but my research shows that the real name is Sealed Authenticator System, but during my work I called then biscuits.<p>
It turns out you can’t buy them anywhere, trust me I looked.<p>
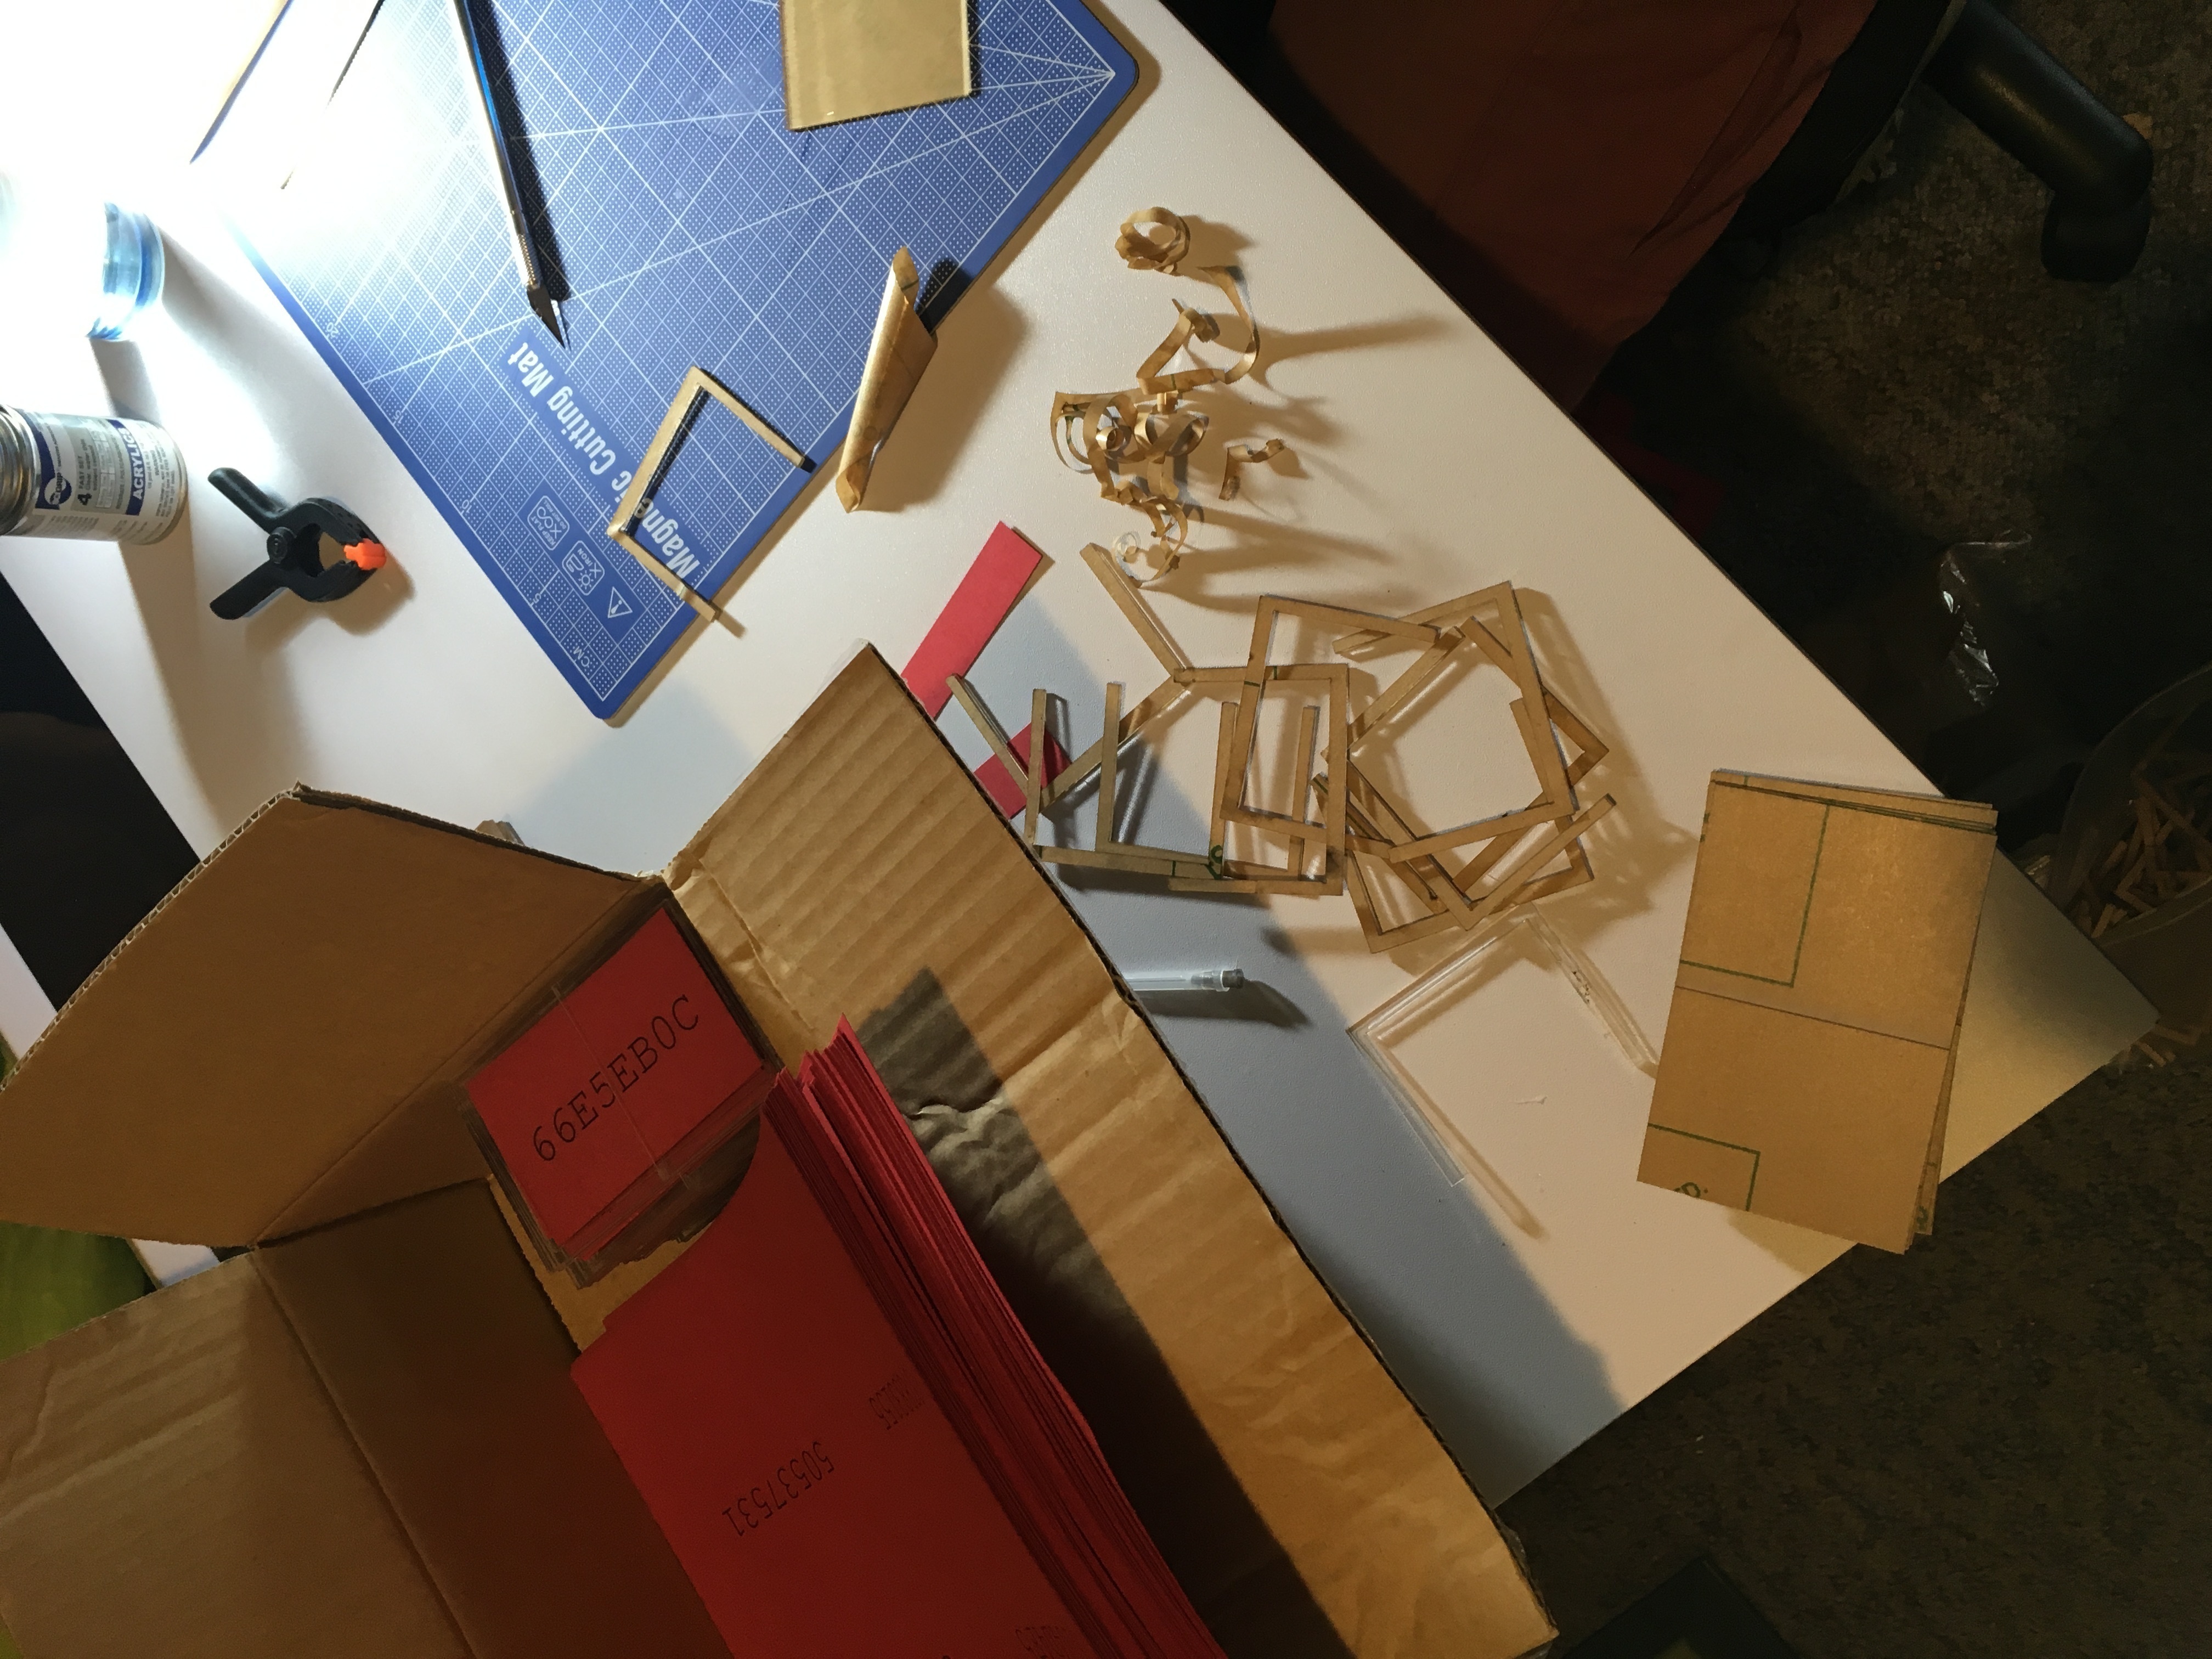
So I decided to make my own from laser cut plastic.<p>
 </center>
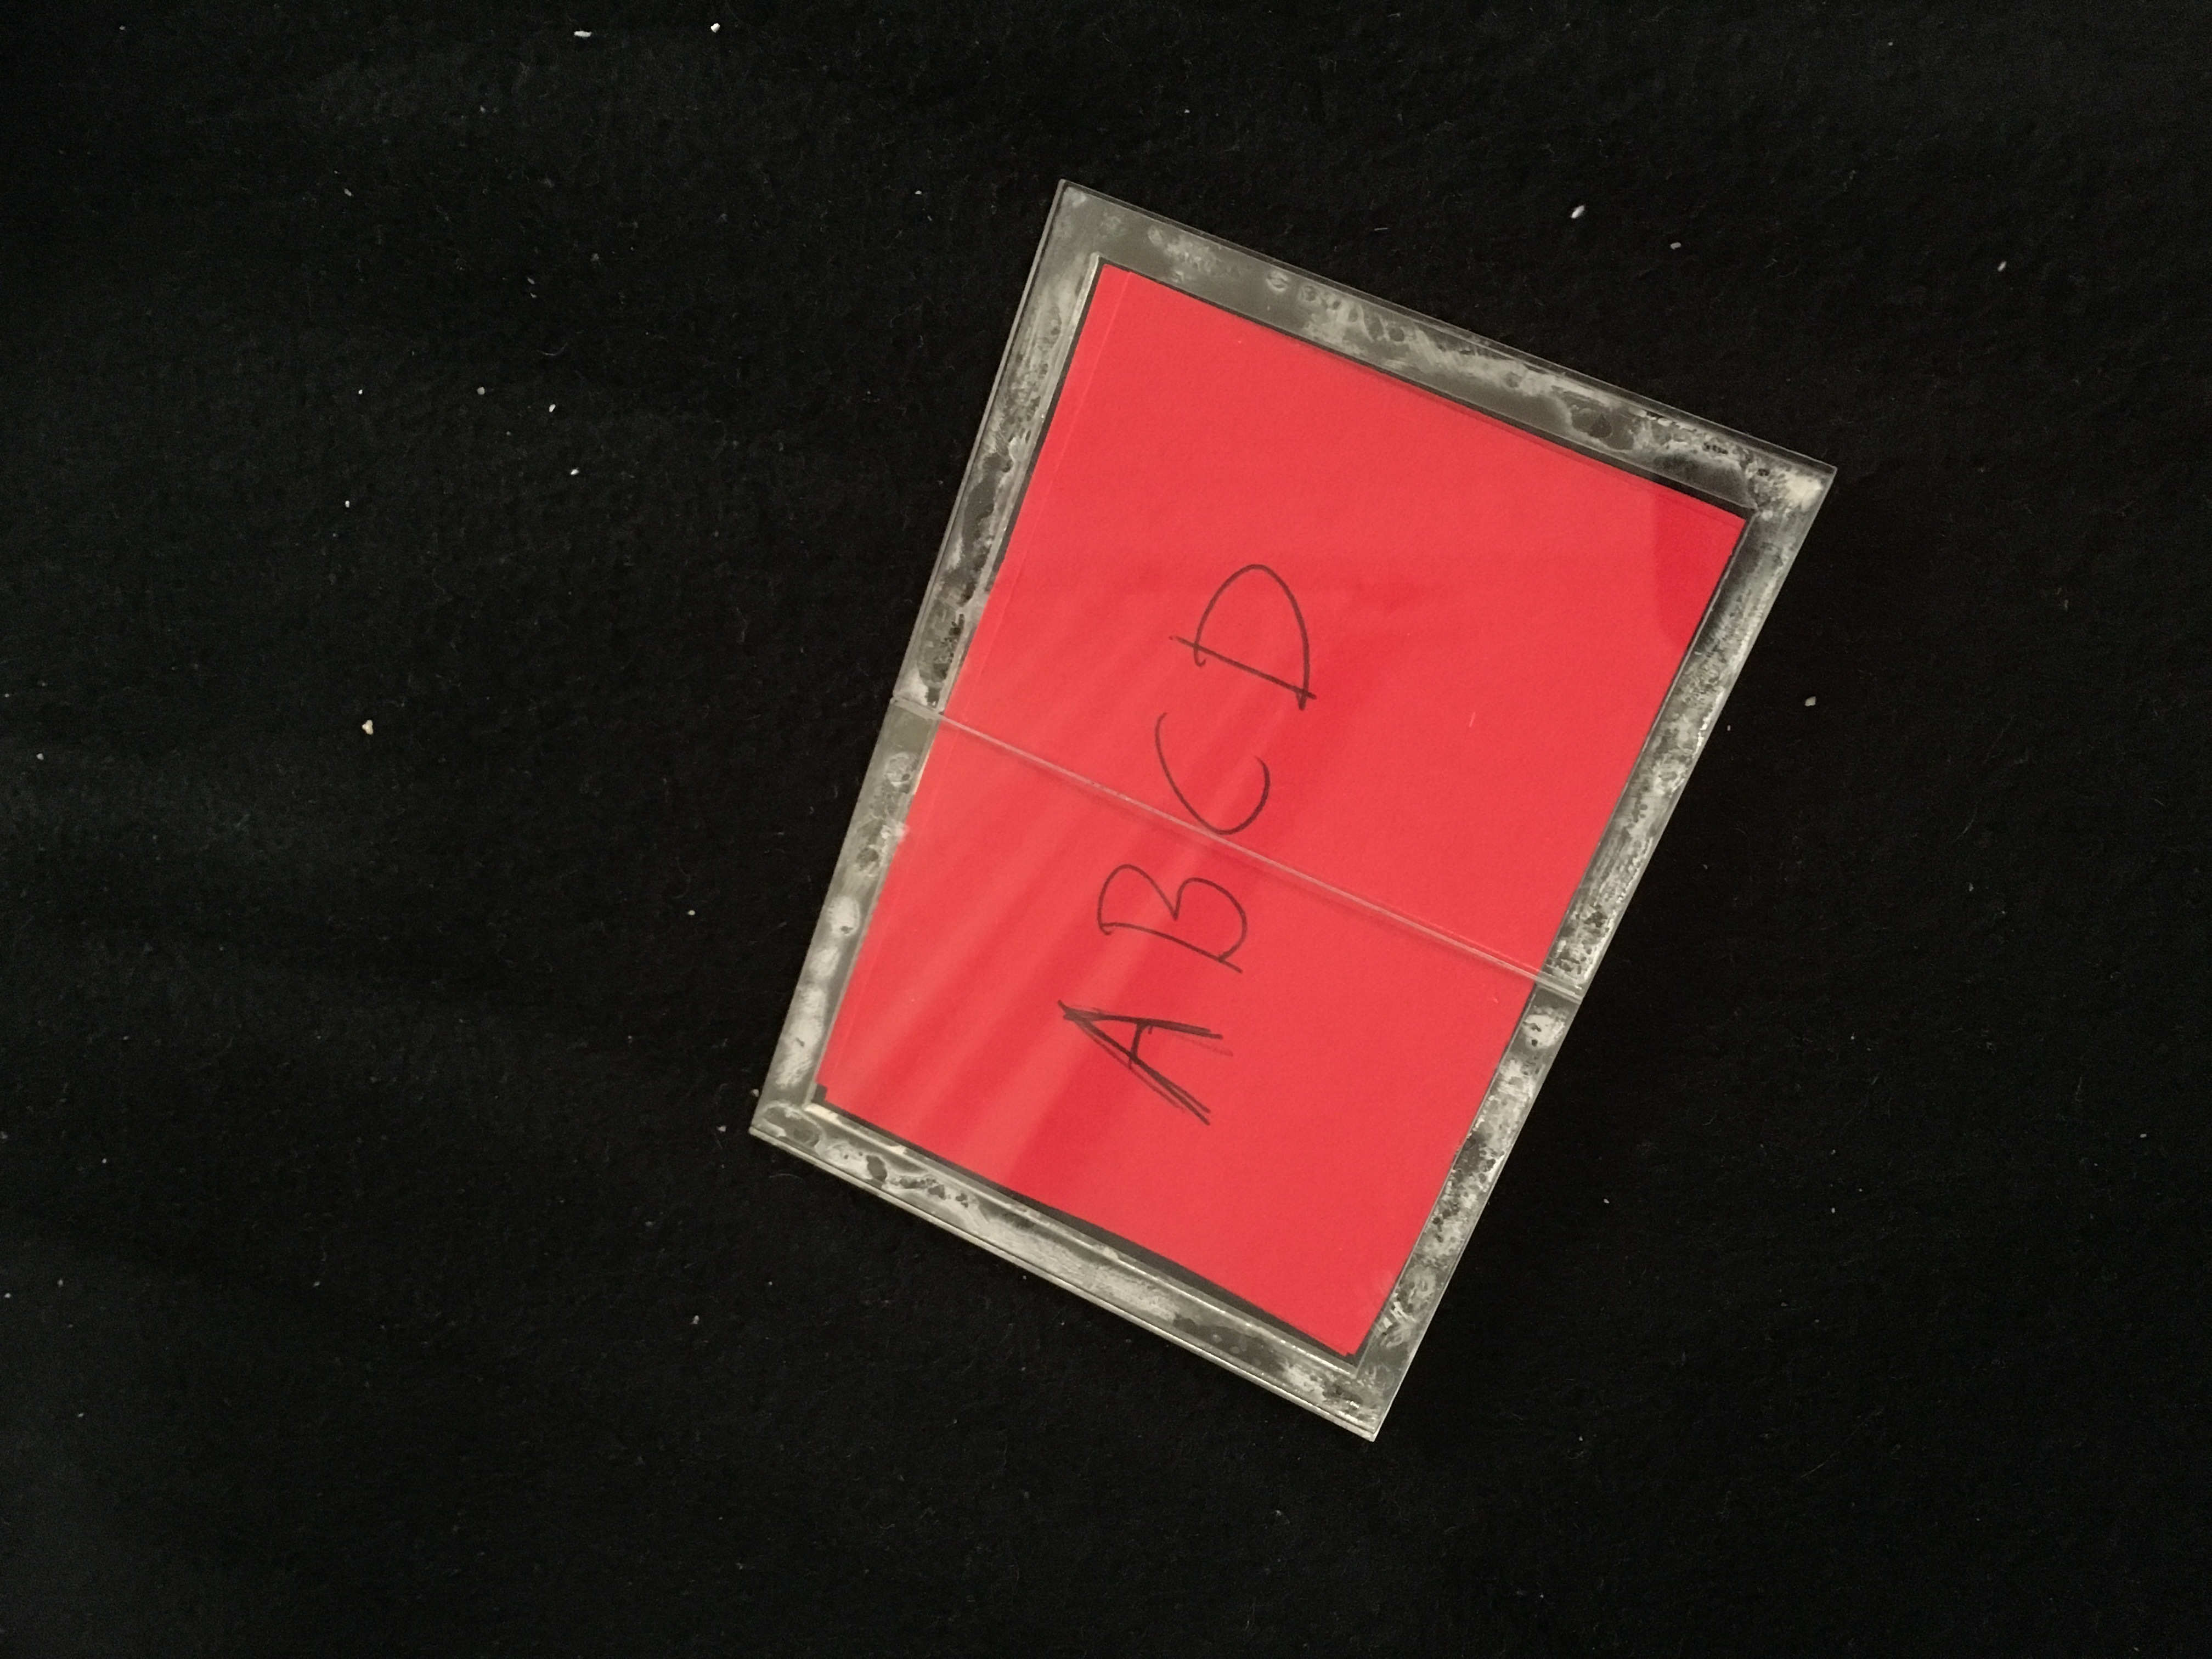
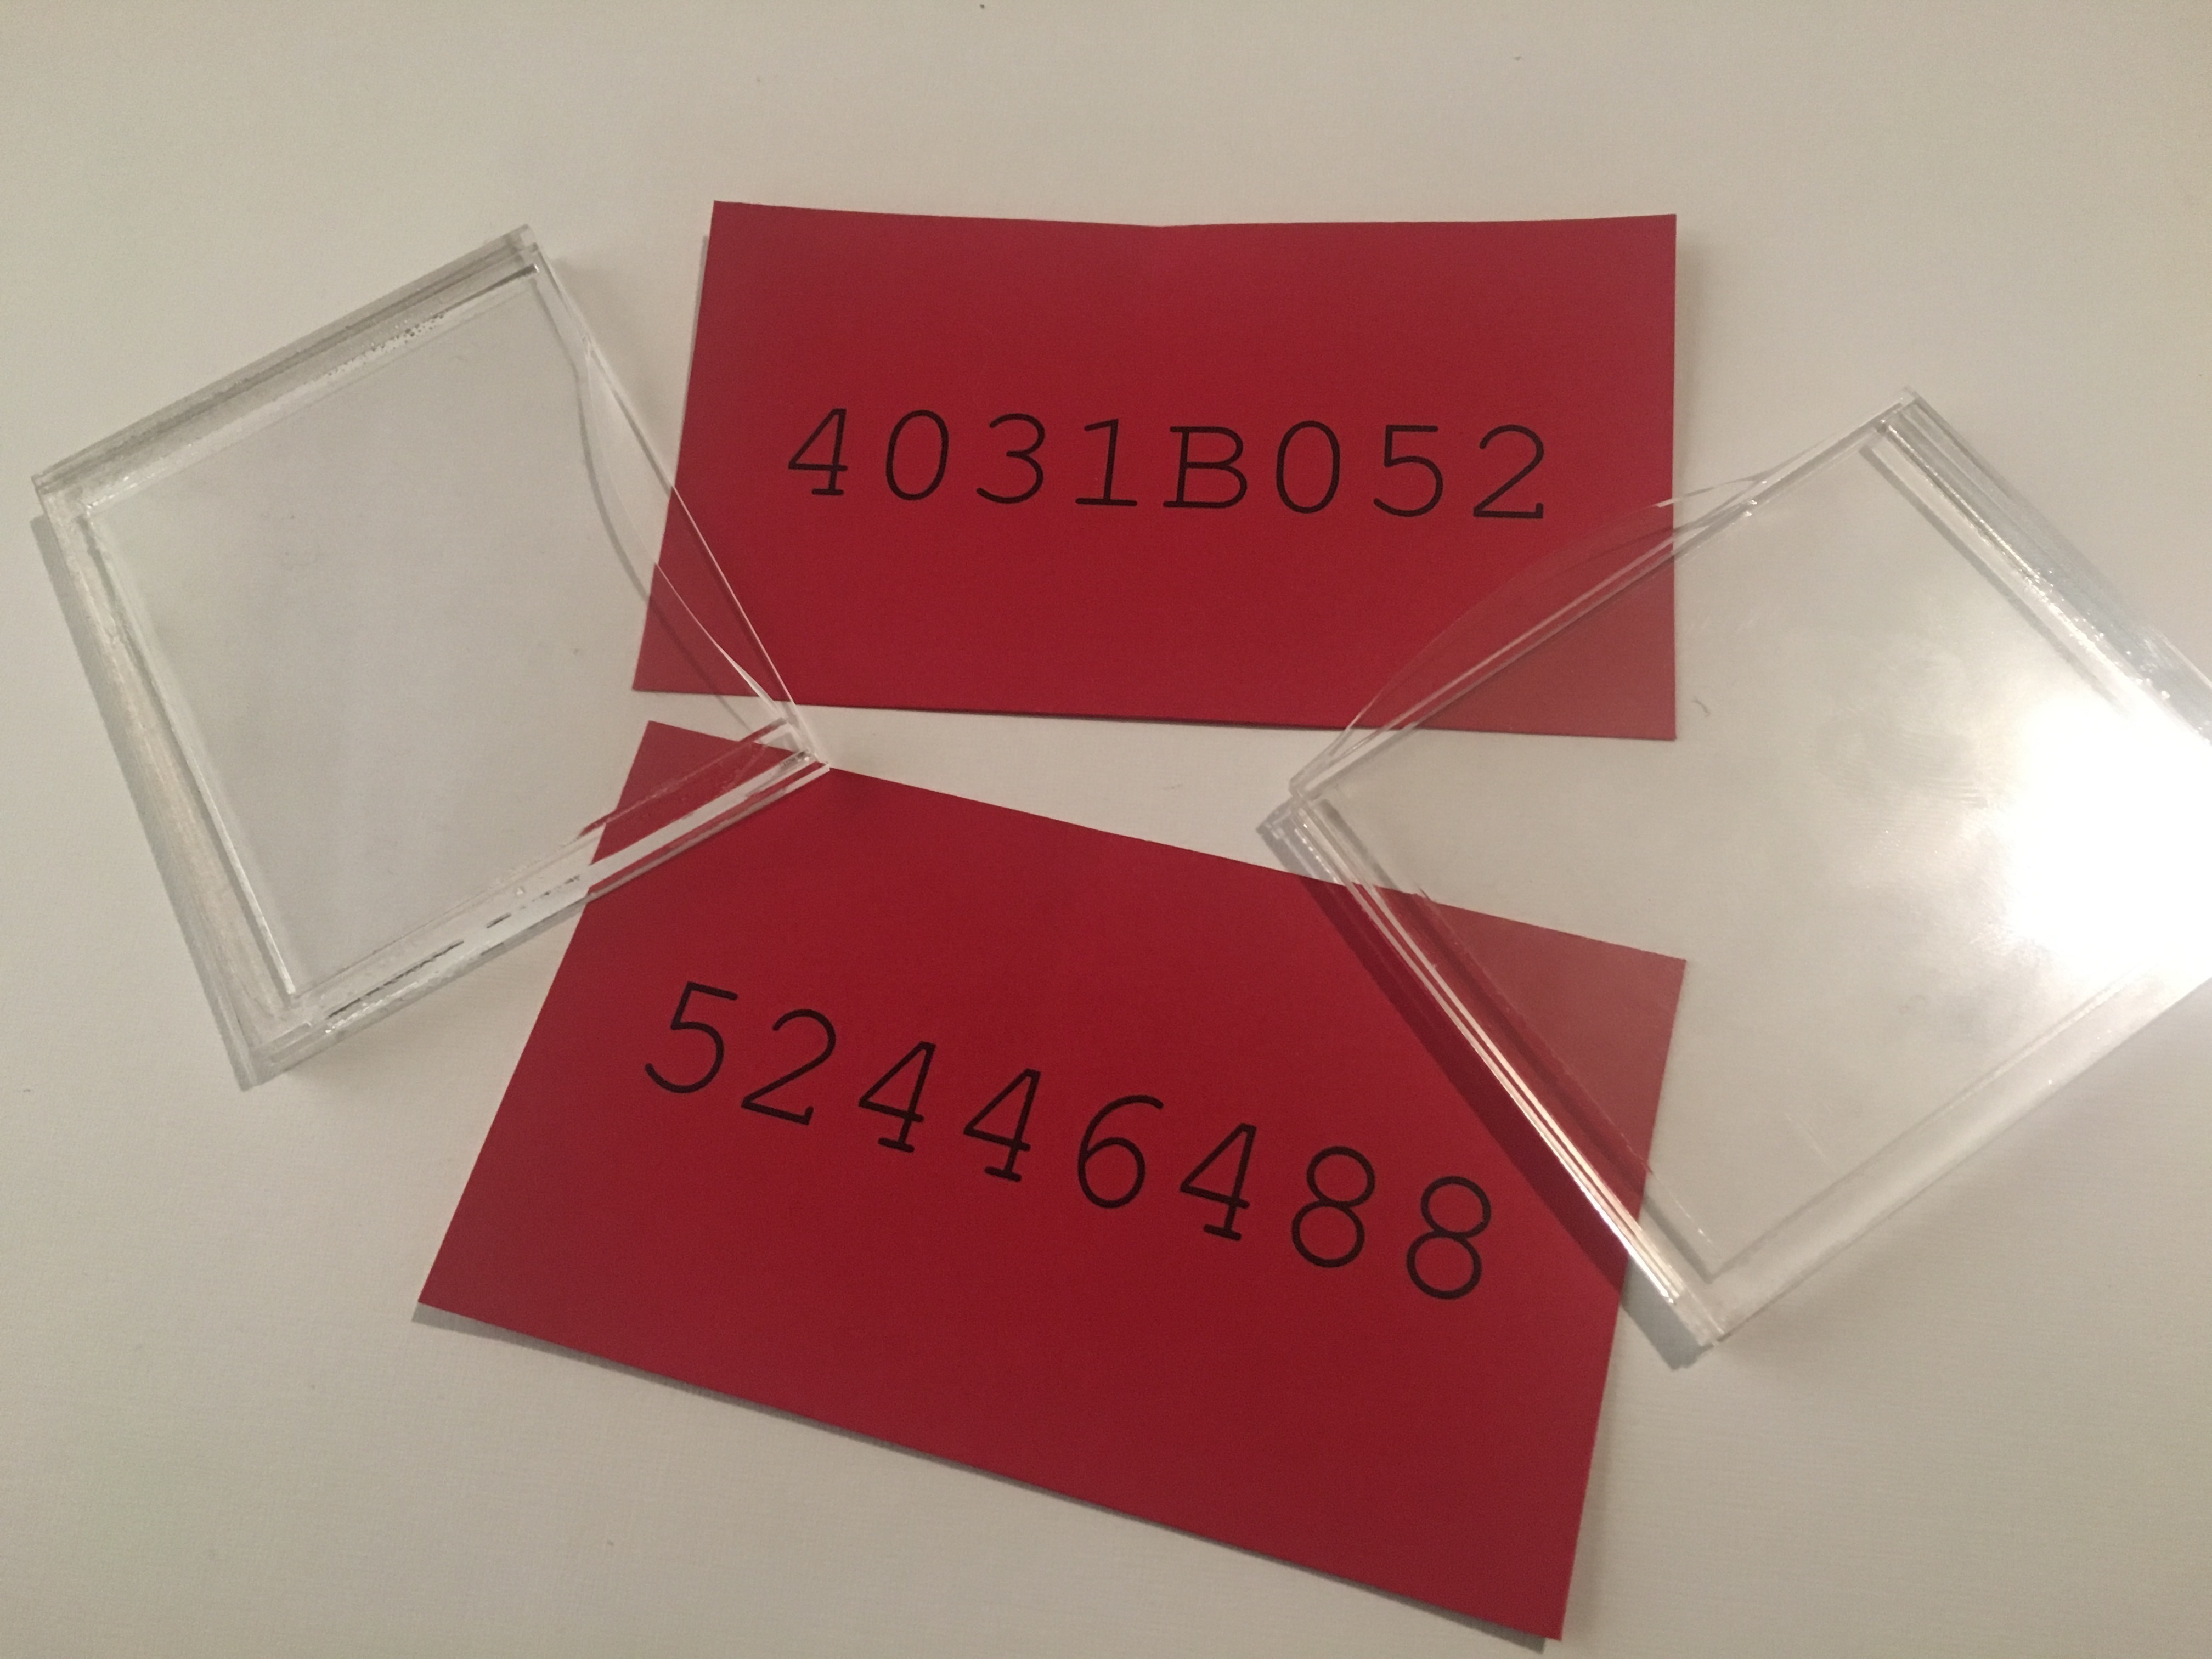
The glue joint is very fogged and white, this is because I used superglue. The final design used plasic welding using Weld-On 4
</center>
The glue joint is very fogged and white, this is because I used superglue. The final design used plasic welding using Weld-On 4
This youtube link give a good introduction to using weld-on 4.
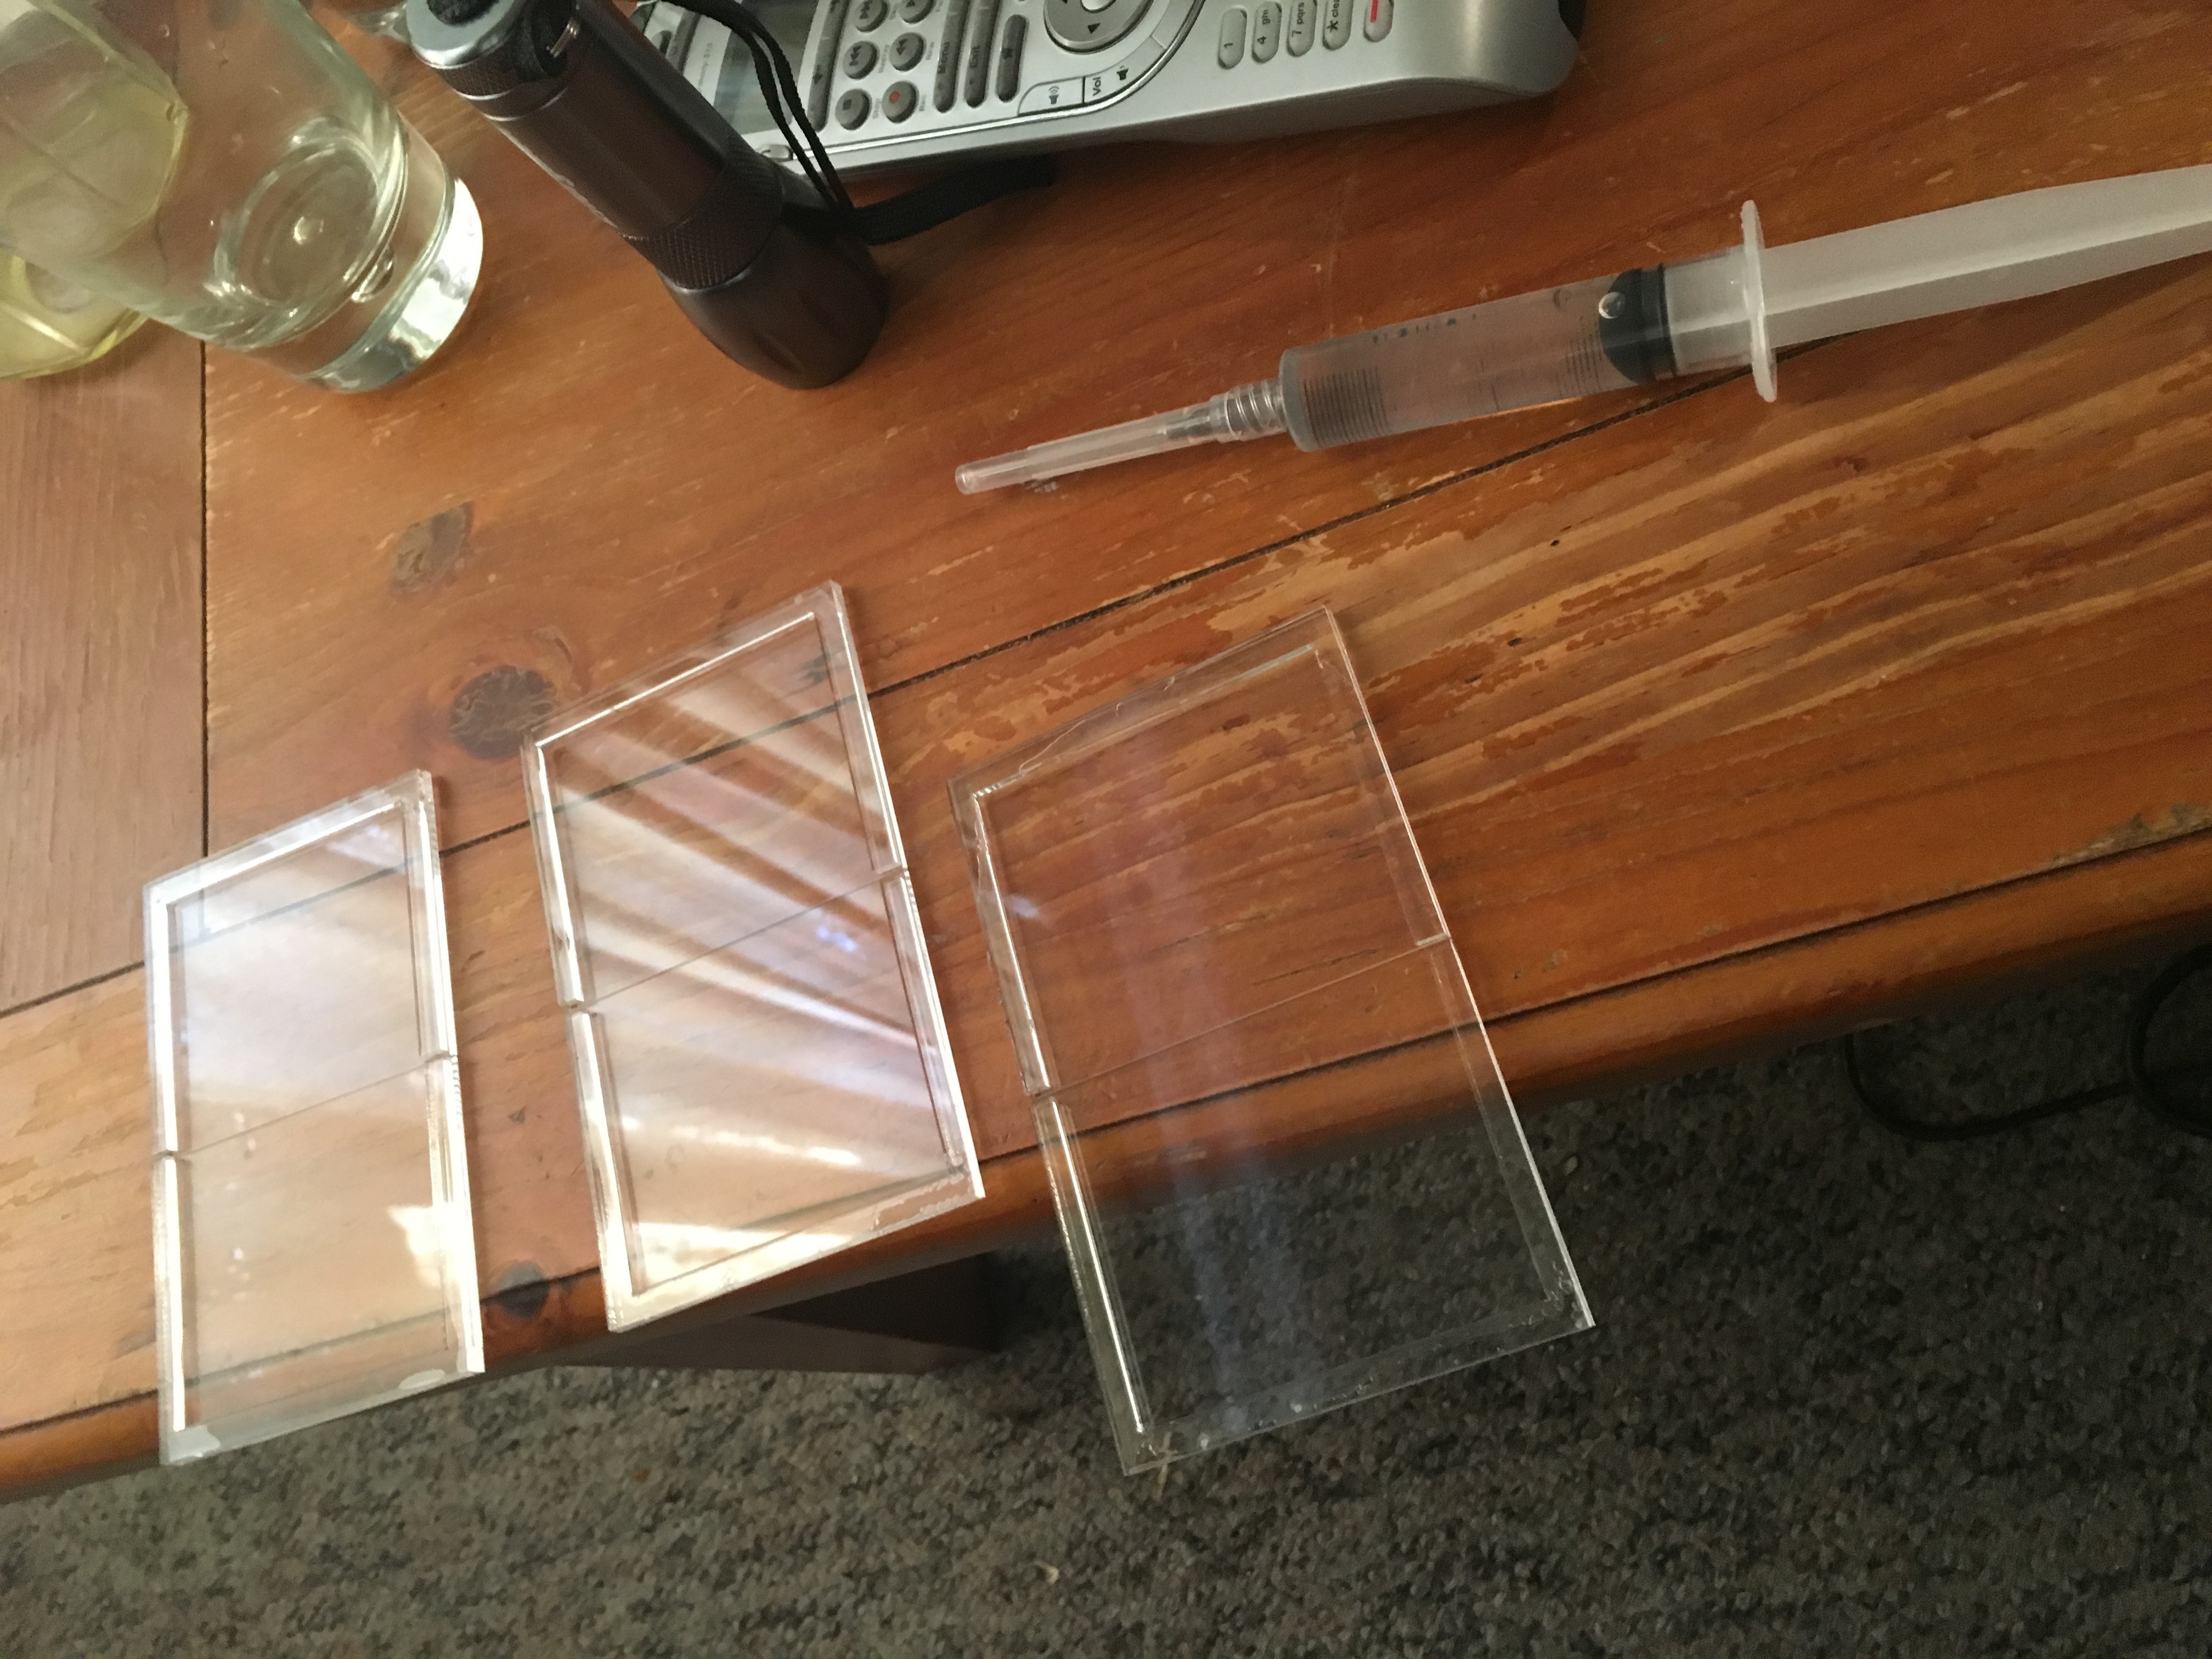
Each card is made up from 3 layers of 2mm acrylic, 120mm X 75mm.
The middle layer is done as two C shaped bits that almost meet up.
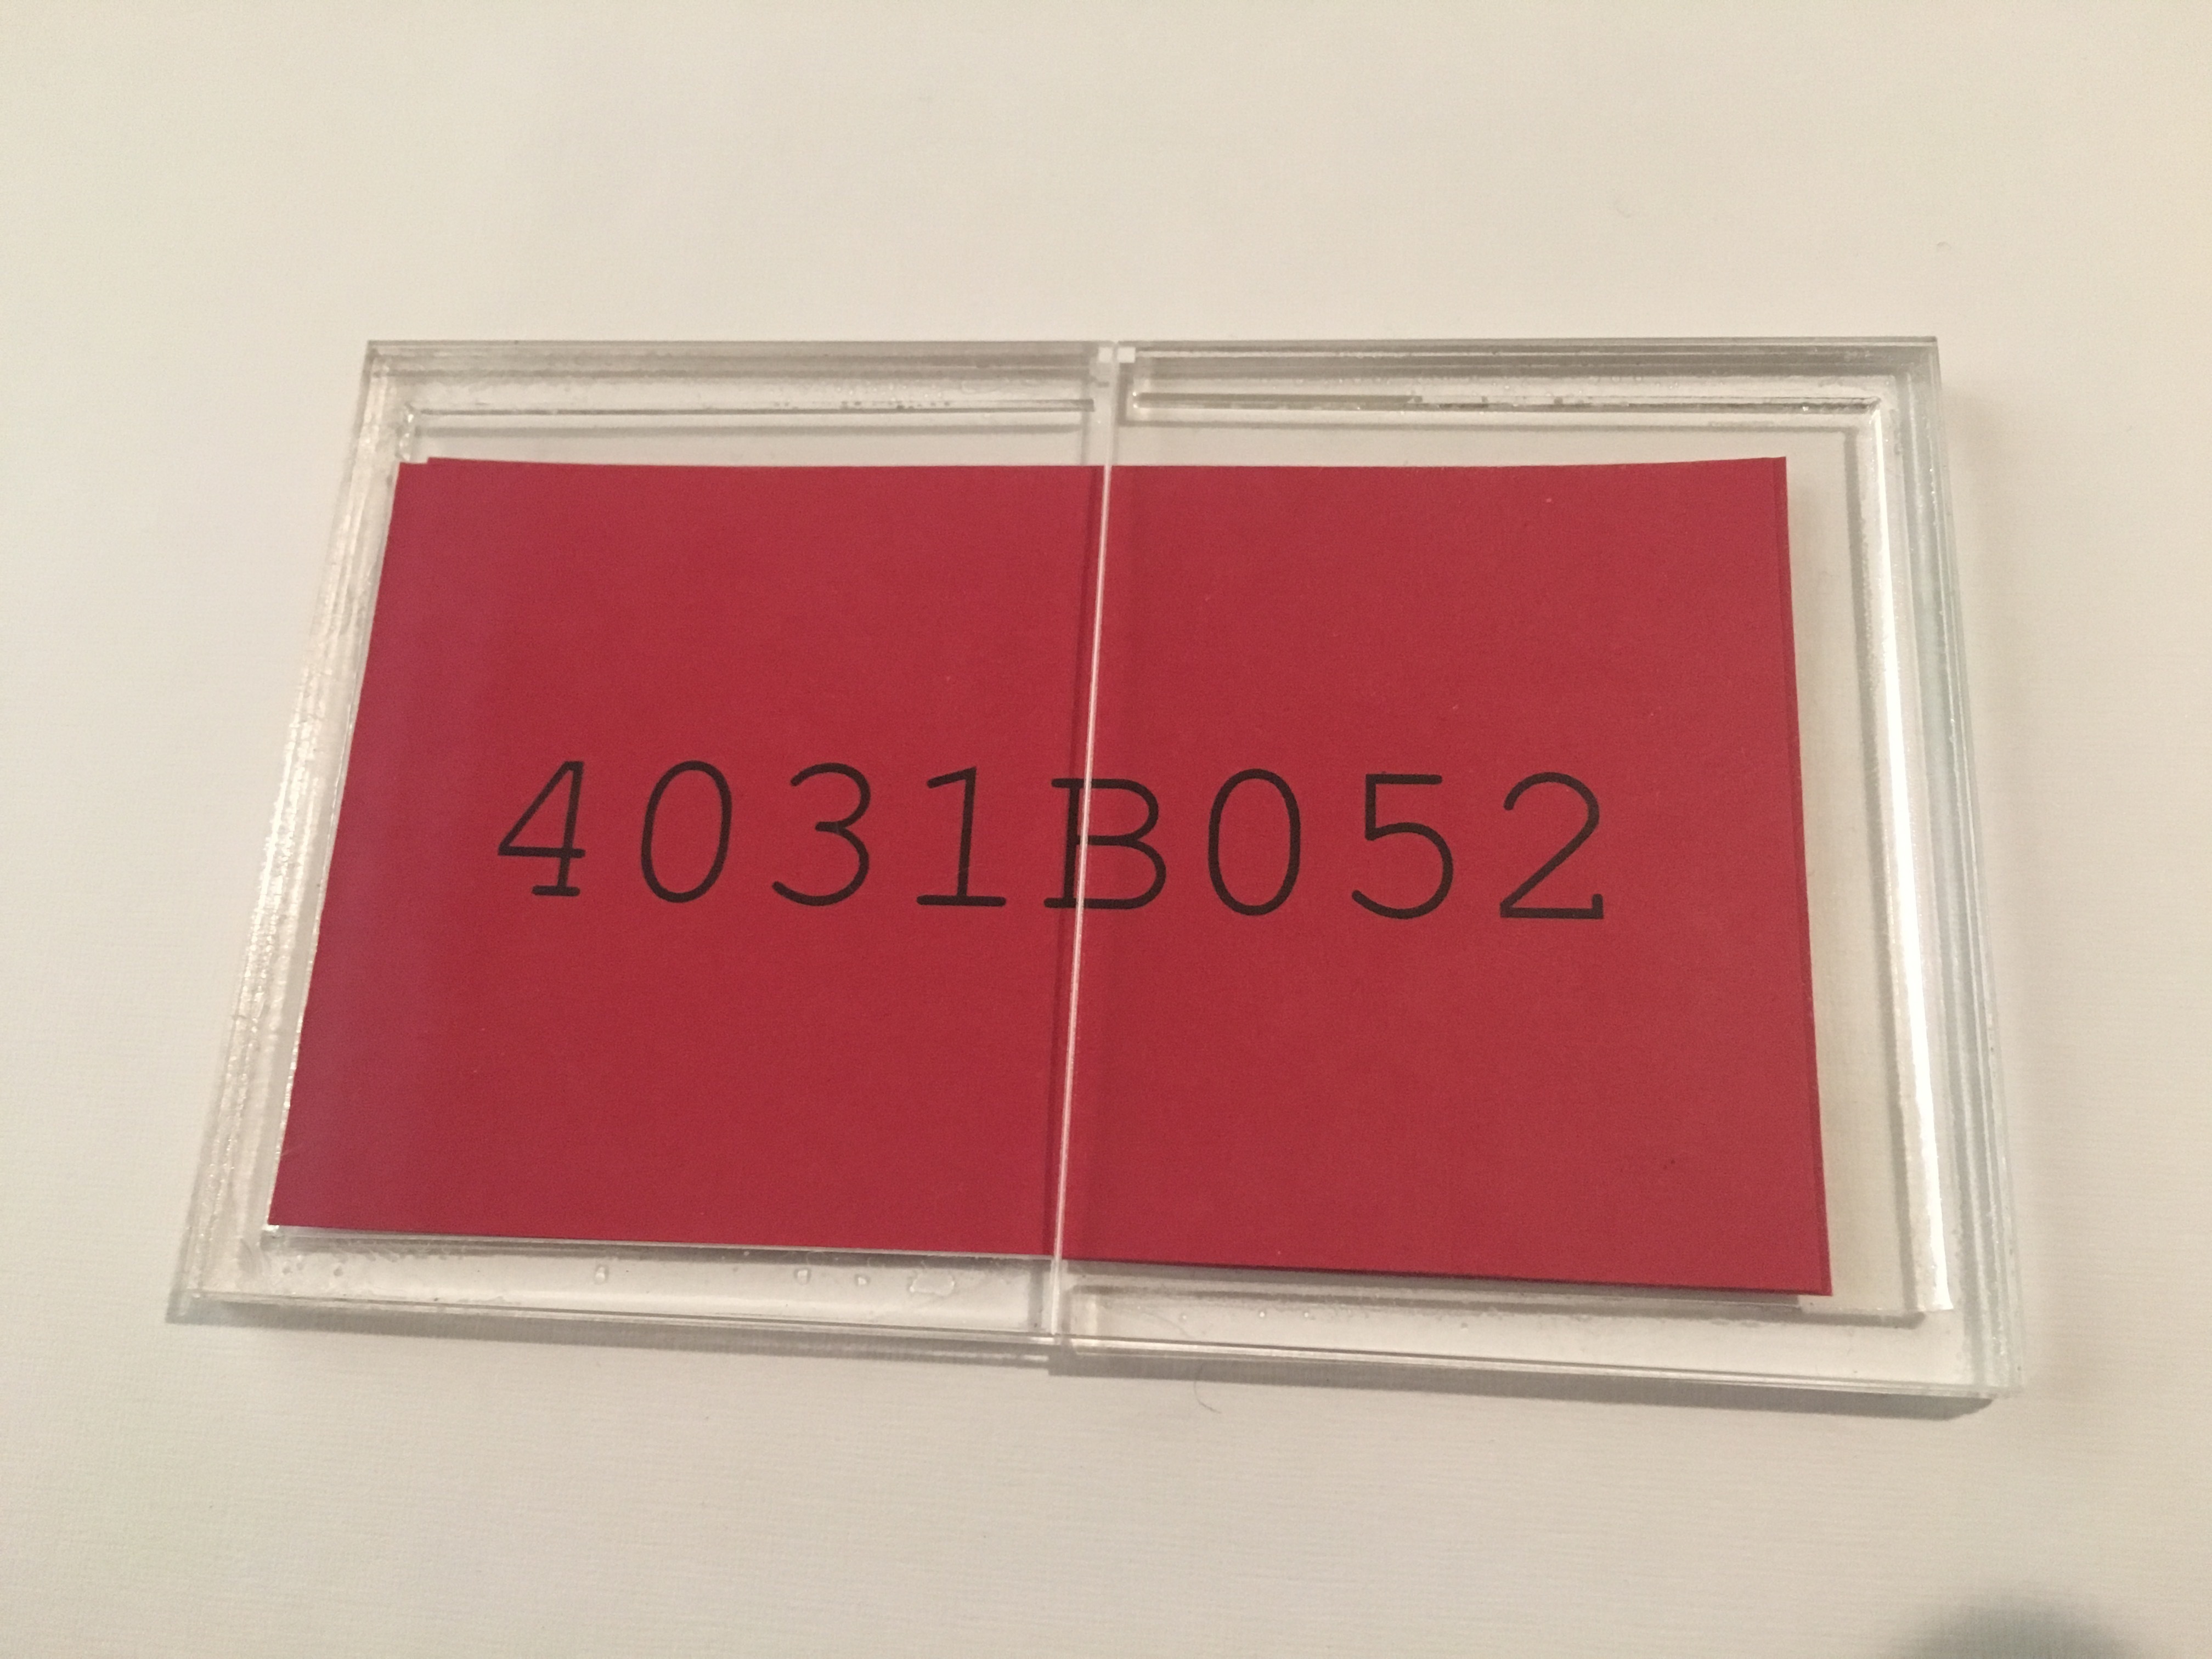
The outer layers have a deep etching line down the middle that helps it snap.
Inside the biscuit is two bits of red card, the top layer has a challenge code, the bottom layer has the responce code.
Here is a link to my SVG that give you the size and shape needed.
 </center>
 </center>
 </center>
 </center>
LINKS:
Raw SVG file for laser cutting
Youtube link, introduction to using weld-on 4.