Today we will look at more of the console design and build.<p> Having a keypad as input is a good start but I neeed some kind of display, Raspberry Pi has HDMI, so using a TV seems like a good choice.<p> A quick google shows that pygame is the framework of choice for putting pixles on screen from python and Raspberry Pi<p> Getting pygame to output at 1080p or 720p took a bit of work, if I select a resolution that is not “good” then the Pi locks up.<p> This is the code I ended up using:
import pygame
# base colors
BLACK = (0, 0, 0)
WHITE = (255, 255, 255)

SCREEN = pygame.display.set_mode((1280, 720))
SCREEN.fill(BLACK)
pygame.draw.line(SCREEN, WHITE, (5, 5), (1000, 700), 1 )
EXIT=0
while(EXIT==0):
	pygame.display.update()
pygame.quit()
sys.exit()
But you also need to make changes to the Pi overscan settings, see this guide about setting up the overscan settings.<p>
TL;DR - hack about with the /boot/config.txt<p>
Putting text on the screen is also quite easy.<p>
#create a font object, default font at size 42
demo_font = pygame.font.Font(None, 42)
#render a text object
demo_text = demo_font.render("Hello World", 1, WHITE)
# push pixles on to SCREEN at 50,50
SCREEN.blit(demo_text, (50,50))
NOTE: the Raspberry Pi cant support hardware blitting so the framerate can be a bit rubbish depending on how much you are blitting.<p>
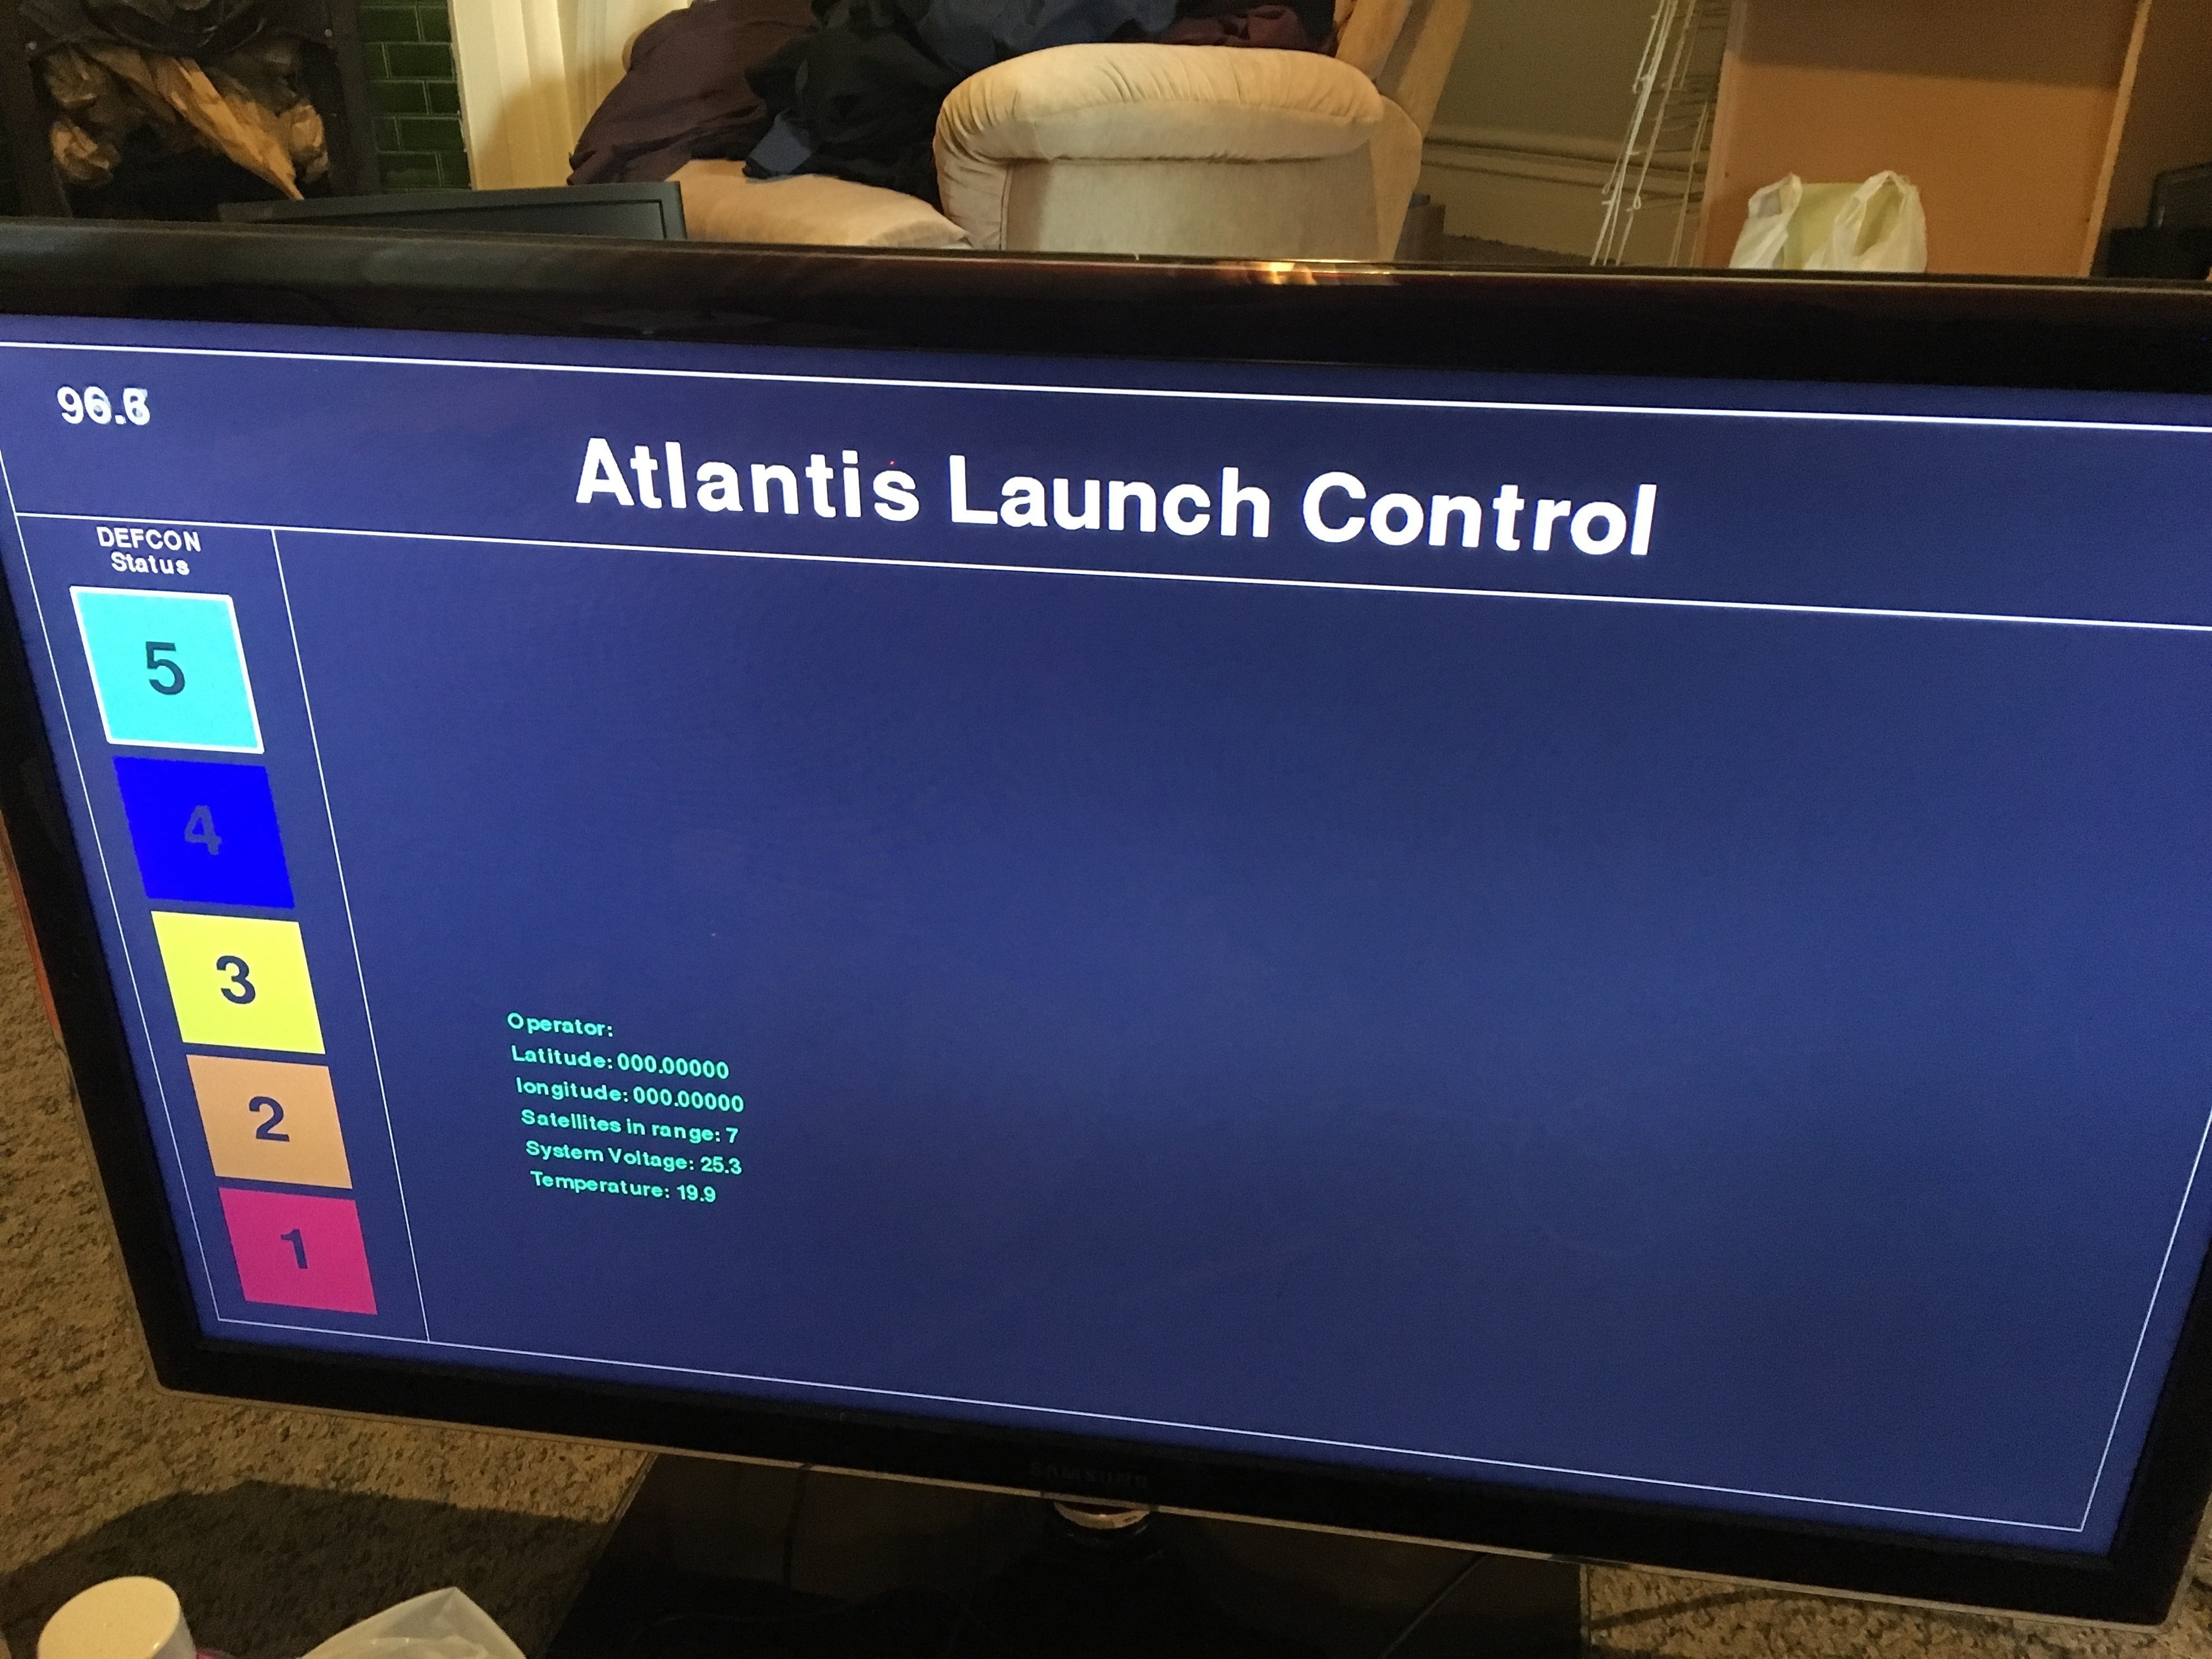
Half a day of code and I got a basic draft of the screen.<p>
 </center>
LINKS: