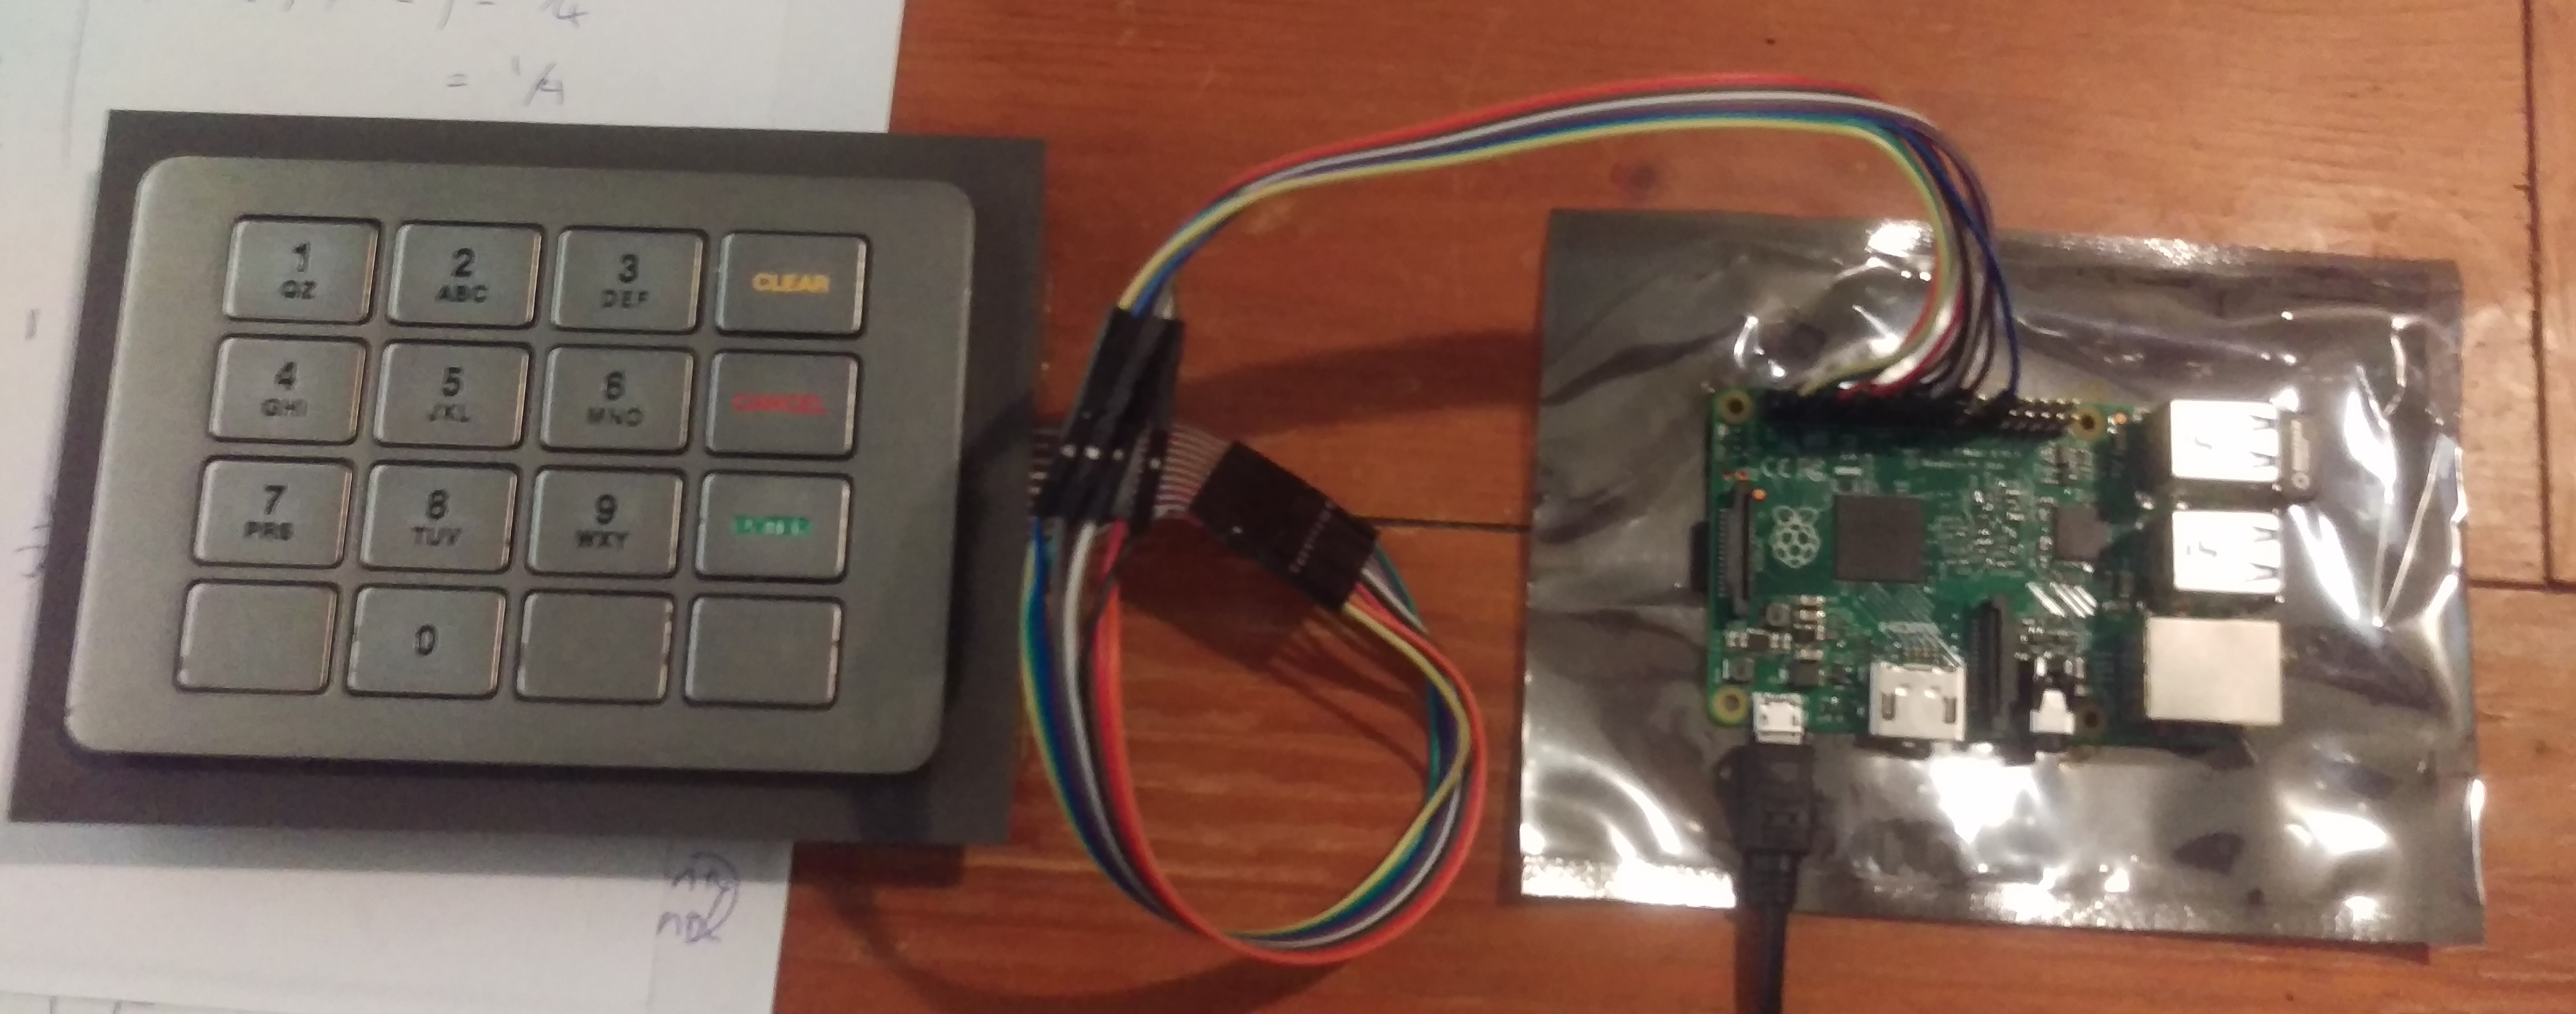
In this post I will look at more of the console build.<p> A cheap keypad is a long way from a full console, style was my next mission, I wanted a metal solid keypad…<p>
I went off to see my local tech scrap merchant, and found ATM style keypads at only $5 each.<p>
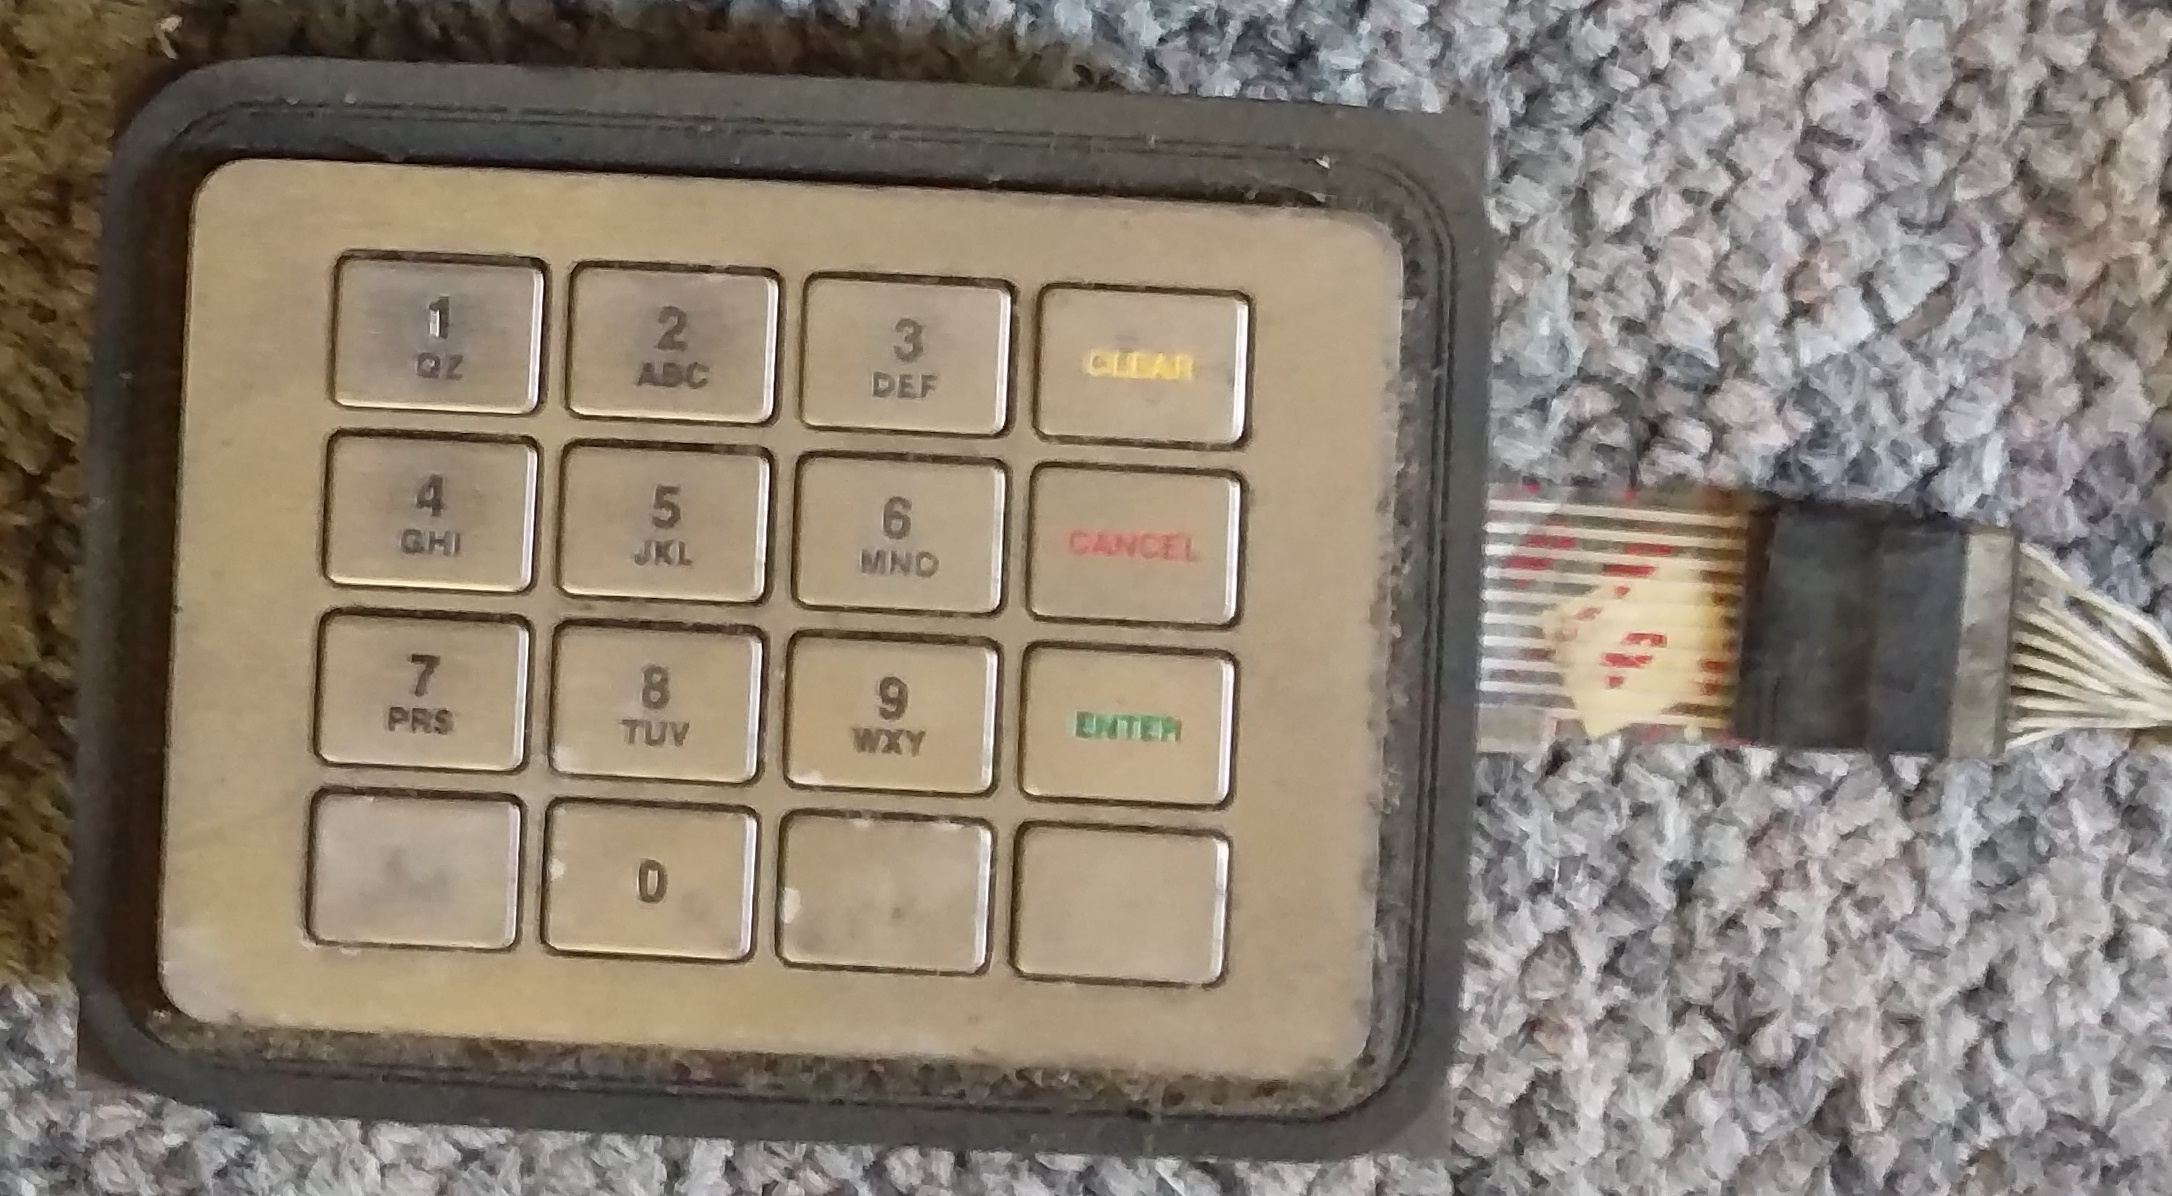
</center> However the pinout of the new keypad was unknown, so some guess work was needed.
15 minutes with a multi-meter and it was clear how it all worked.
I expected a 4x4 matrix, it turned out to be two of 8x1 matrix, the 1 and to 10 pins being the common pins and to other 8 being the switched pins.
</center>
</center> The keyboard scanning code looks like this:
def ScanKeyboard(inputpin):
        GPIO.output(3, False)
        GPIO.output(5, False)
        for I in [3,5]:
                GPIO.output(I, True)
                for J in [7,11,13,15,19,21,23,29]:
                        if GPIO.input(J):
                                putbuffer(I,J)
                                while(GPIO.input(J)):
                                        continue
                GPIO.output(I, False)
        GPIO.output(3,True)
        GPIO.output(5,True)
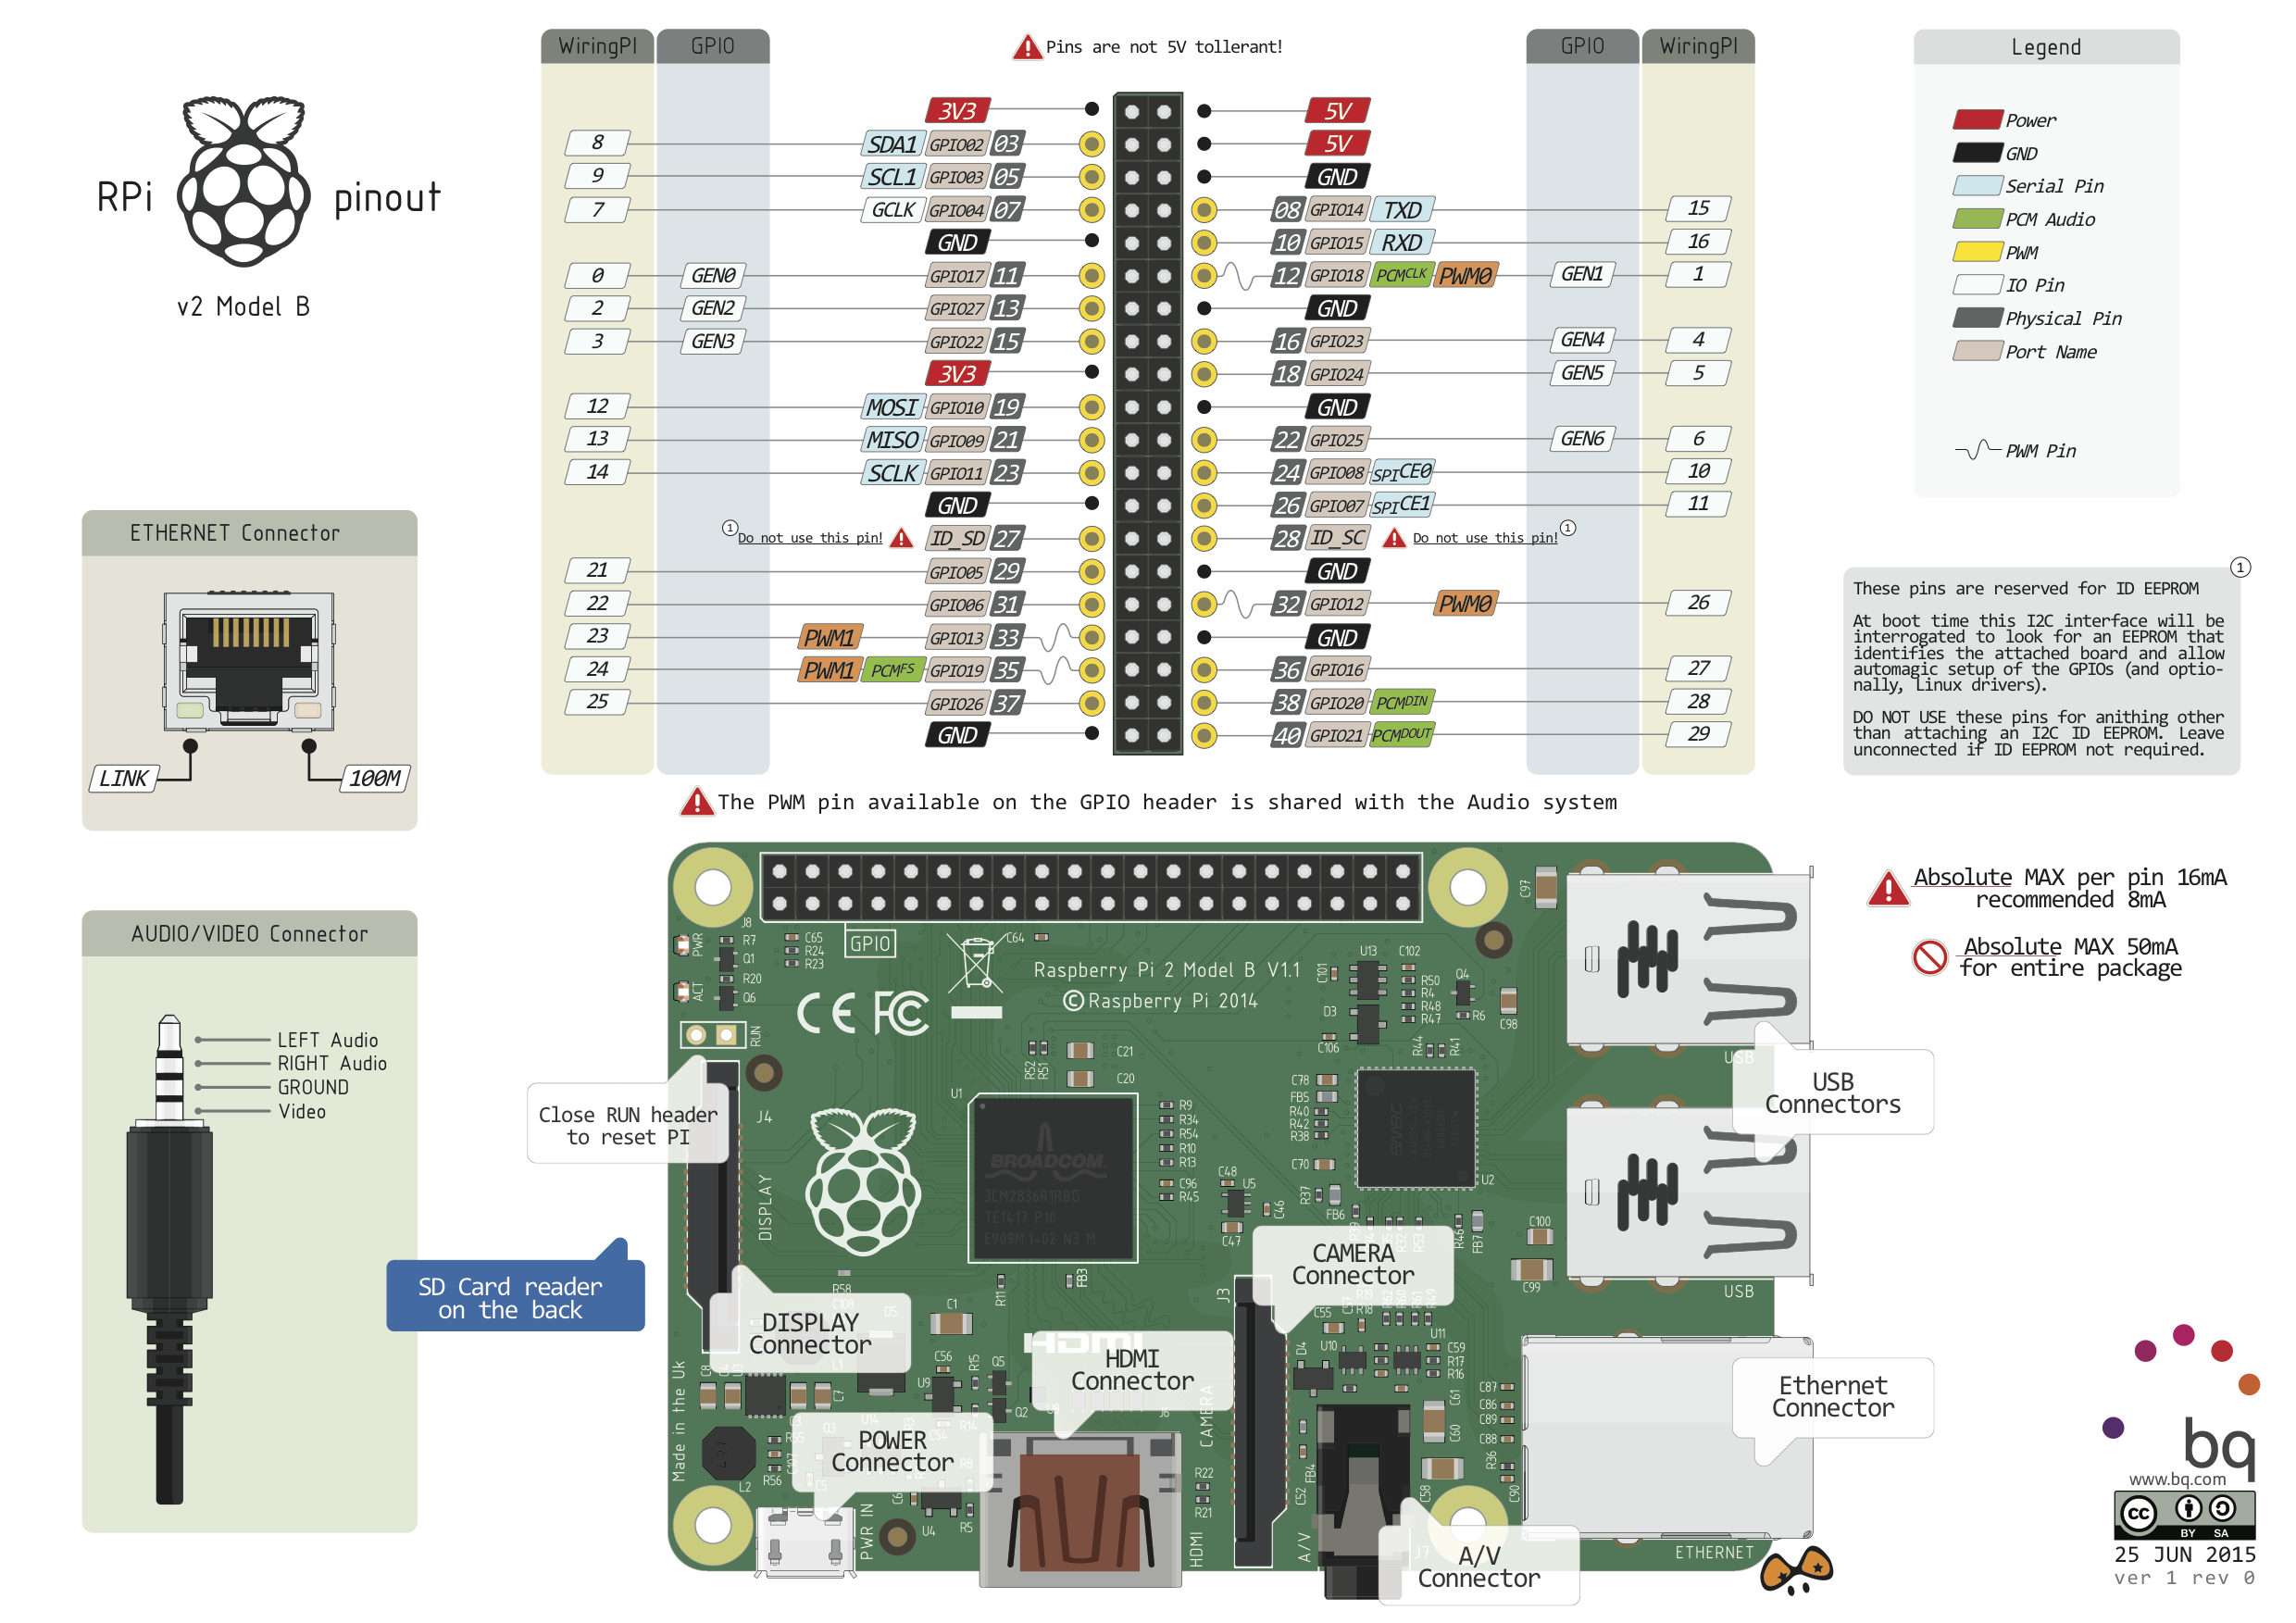
GPIO pins 3 and 5 and the common pins, we set one of them high and then check to switched pins (7,11,13,15,19,21,23,29) if no match then we check the other common pin.Once we have done the scanning we set both common pins high so as to catch the next interrupt.
If I was to re-write this code, the "for J" loop could be removed as we get the "inputpin" with the function call, so we only need to test with the "for I" loop.
LINK: